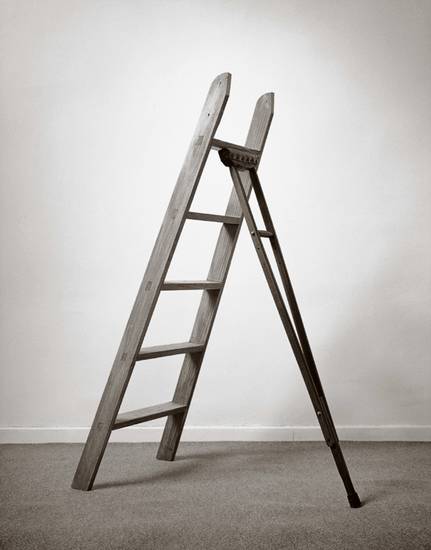
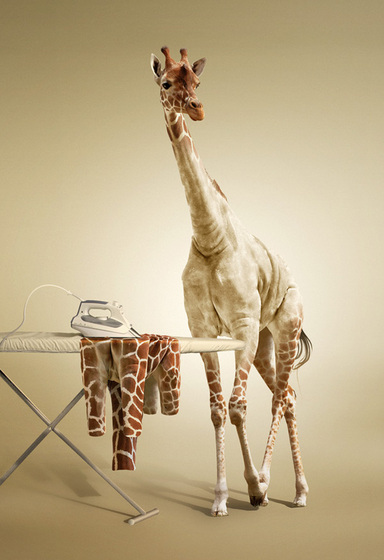
 Background Creativity. It's an interesting concept. Our art theme this year is creativity - pulling from your own personal ideas to make fun and unique artwork. Living in a postmodern world, nothing you create is new, but it is up to you to create something that is innovative, fun, and shows your concept. Assignment Your assignment is to take a found object and use your creativity to create an environment for that found object. Interpret the object and create a pictorial representation of it. You should PLAY with your objects and ideas in order to find the most unique solution. Play is an important part of the creative process. You can use the found object that I give to you, or you can use an object that you bring in. Artists to Consider
Objectives
Grading Criteria
0 Comments
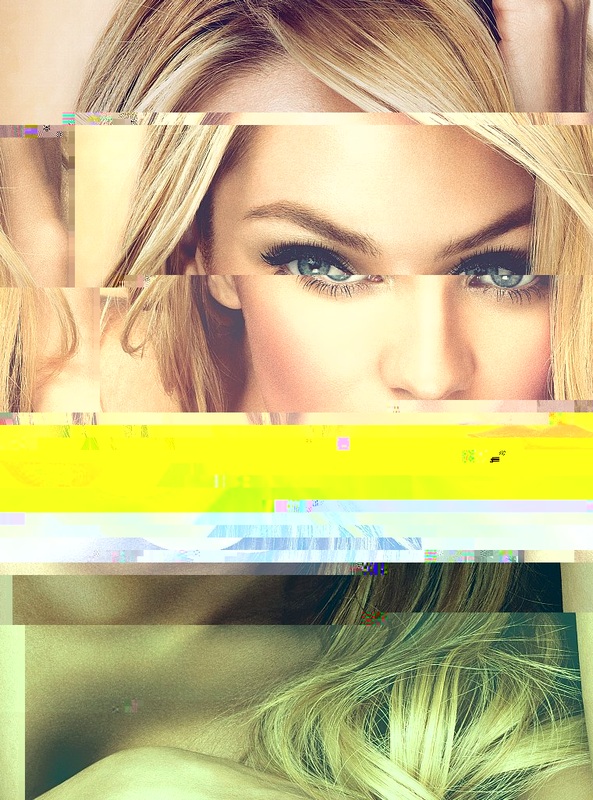
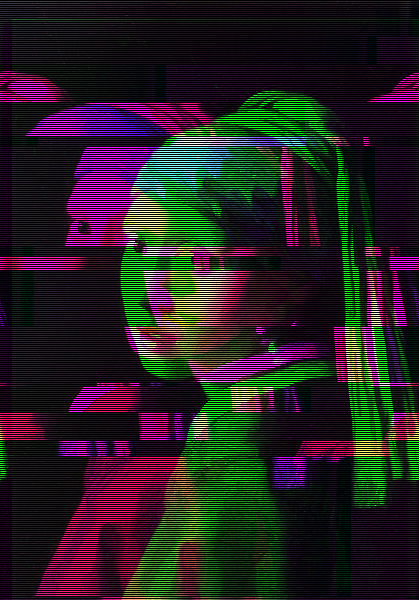
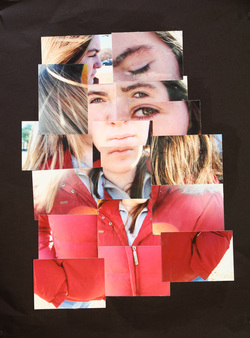
 Background Glitching is the intentional manipulation of an image file. It is a 21st century contemporary technique and is a little wild and controversial? Is glitching art? Some people think that Duchamp's Fountain was trash but it launched a revolution in art. Assignment Your assignment is to photograph at least 25 exposures and use those images to create 3 final glitches. Your images should be portraits of people. Steps
Grading Criteria
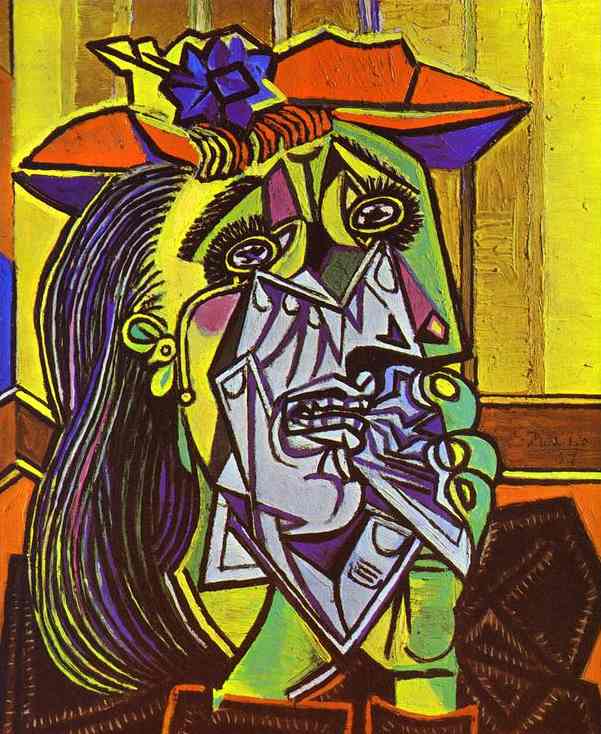
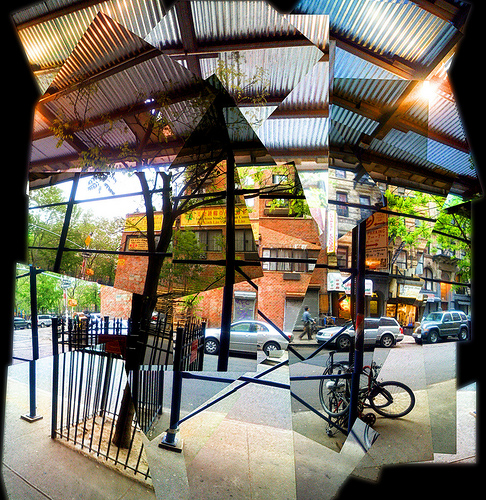
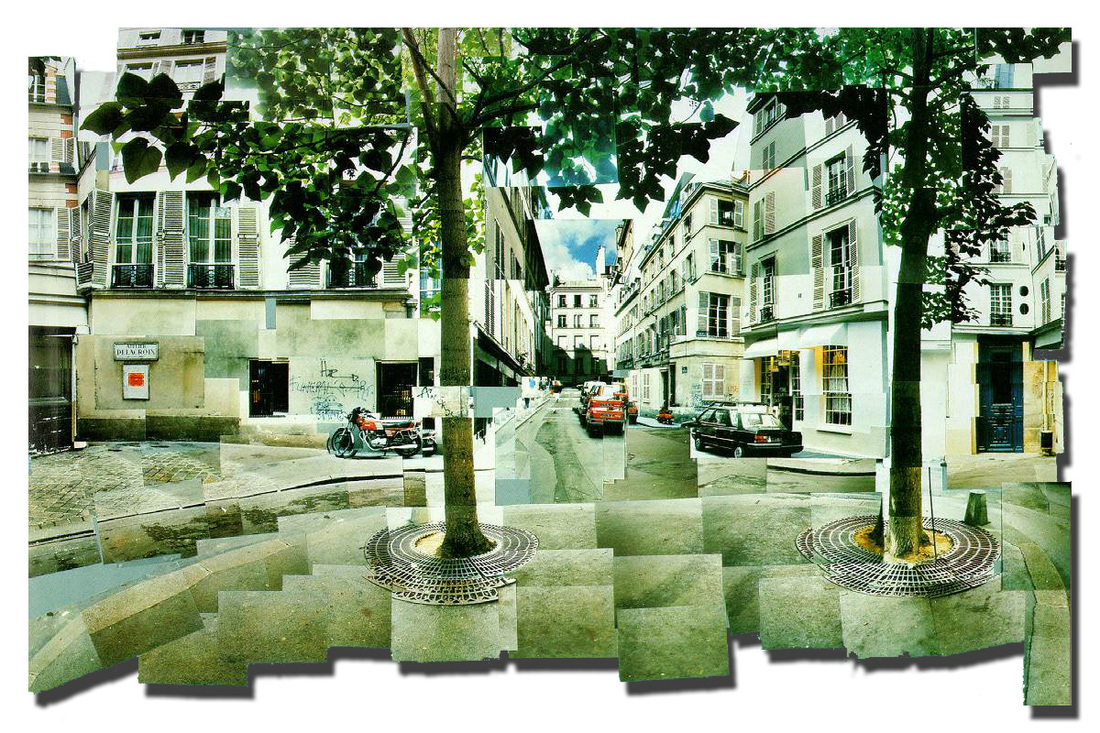
  A panorama usually refers to a long photograph. To assemble something means to put it together from various pieces. So for this project you are going to be assembling a panorama image. However, a panorama—in our project—can take on many different shapes besides the usual long image. Think about vertical images or images that follow a particular shape. This can be any subject (i.e. a long hallway, a fire hose, a portrait of a person, a flag pole, etc.). Think of how to create a panorama of your subject because often the subject of your photograph is going to determine the shape of your panorama. Your panorama must have 12 or more frames in it and they cannot overlap so that one image is completely hiding (or mostly hiding) the image beneath it. Artists to consider: Michael Chase-Damiel, Rachelle Dermer, David Hockney, Pablo Picasso, Meghan Pierce Assignment: You must photograph 30 exposures of panoramas. Since each panorama requires AT LEAST 12 frames, I suggest that you shoot 2 different objects or scenes with 15 frames apiece. This will ensure that you are able to get enough good images for your panorama. You are responsible for lining up the frames and overlapping them so that when printed, you can assemble them to make an image that makes sense to your viewer. Your subject does not need to be panoramic; you need to make it a panorama. Steps:
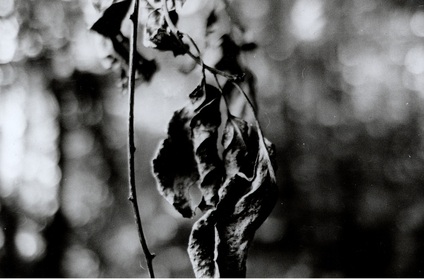
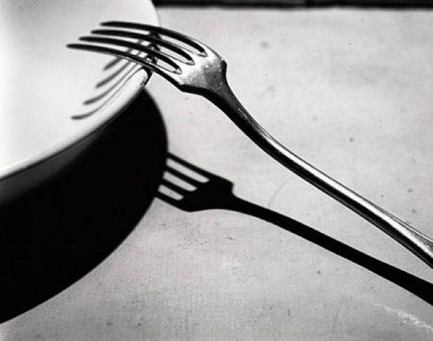 Andrew Kertesz Andrew Kertesz In this project you are going to explore the differences between light and shadow and/or reflections. I want you to focus on strong contrasted light and the resulting deep shadows that are produced. Use the natural effects of light and shadow to remove the actual object that is creating the shadow to bring us out of context. These images should be interesting in composition and even slightly abstract in their final printed version. Because we must have a sunny day to create the contrasted light for light and shadow you may also focus on reflections. Think about interesting reflections—like the way the light reflects in the window, or your reflection in a spoon or shiny metal object. You can use a mirror if you feel it will work but try to think about the reflection as a compositional element instead of a regular or expected reflection.
Artists to consider: Man Ray, Maholy Nagy, Alfred Stieglitz, Ansel Adams Assignment: You must photograph 50 exposures that focus on light and shadow and reflections. Think about how to make your compositions interesting using only strong light or reflected imagery. You can photography people, objects, or even just the design that is created by shadows. Take multiple images of different designs of light, shadow, or reflection. Use your imagination and think about how the final print will look. Steps:
 Background
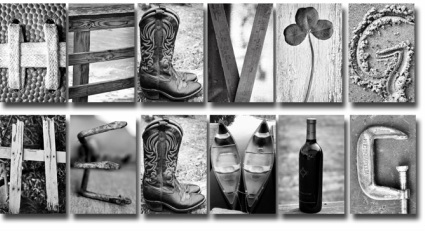
In photography, a successful composition forces the viewer to look at the artwork carefully. Using the elements of art and principles of design to compose your photograph will make it interesting. Look at the world around you, how can you look at something differently than you normally would? This project forces you to look at everyday objects and turn them into letters. Use your powers of cropping to create these letters. Assignment You are tasked with creating an artwork with an inspirational phrase or message by using these photographs. Tips:
Grading Criteria
 Project Description: This project is your first foray into digital photography where you have complete creative control. You will shoot 50 frames on your DSLR (25 patterns and 25 textures), create a digital contact sheet, and print one final print mounted on black paper. Your assignment is to find the beauty in nature through the use of pattern and texture. Pattern is identified as a repetition of a certain element or elements. Texture refers to the properties held by an external surface. Although we cannot actually feel the texture in a photograph, implied texture will give the viewer the feeling that he or she can actually reach in and touch the image. Grading Criteria:
Tips to Get Started: You should decide how you are going to frame your subject. Use the rule of thirds. Consider your outdoor lighting. Is it sunny or cloudy? You must use the focusing ring so you do not get blur. *Remember, do not use a shutter speed lower than 1/60th. Guiding Questions:
Resources: Critique Questions:
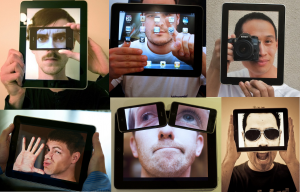 iPad Self Portrait Project
You are going to create a self-portrait with the iPad and incorporating the iPad in to the self portrait (see above examples for inspiration). Also, click here for more examples.
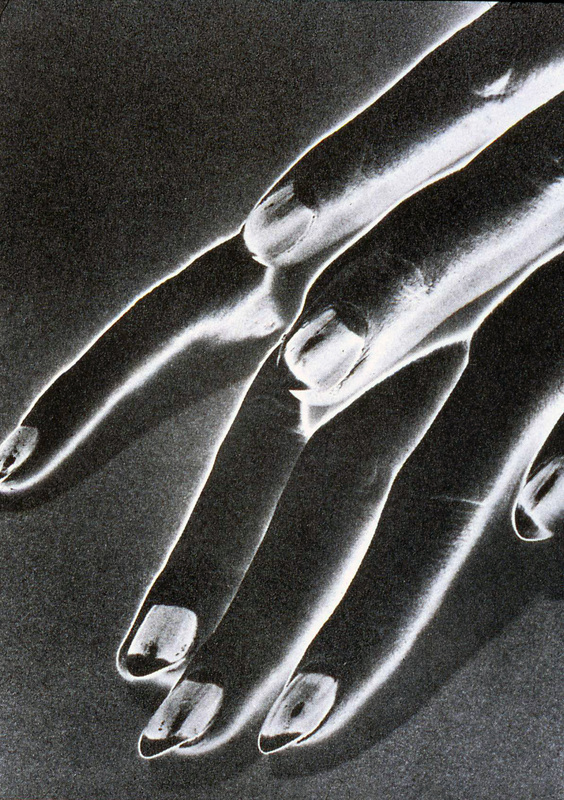
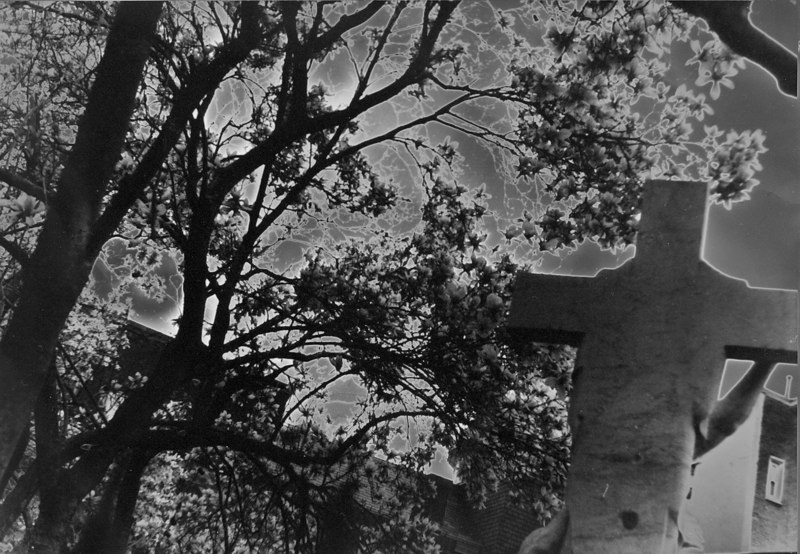 Solarisation by Michaela Christie Solarisation by Michaela Christie Background Solarisation, or solarization, is the process of flashing a partially developed print to white light. The result is a print where some of the tones are reversed. The process works best with high contrast negatives. Artists to consider: Man Ray, Maholy Nagy, Alfred Stieglitz, Ansel Adams, Man Ray, Fingers, 1930 Assignment Your assignment is to look through your old negatives to find a few that may work for this project. You must mount one 5x7 on black paper and 2 5x7's on the back. Steps
 A great way to learn how to morph/merge things is to look at tutorials. PSDTUTS.com is a fantastic site to start with. Look at the other resources below:
Resources
Helpful tools in Photoshop
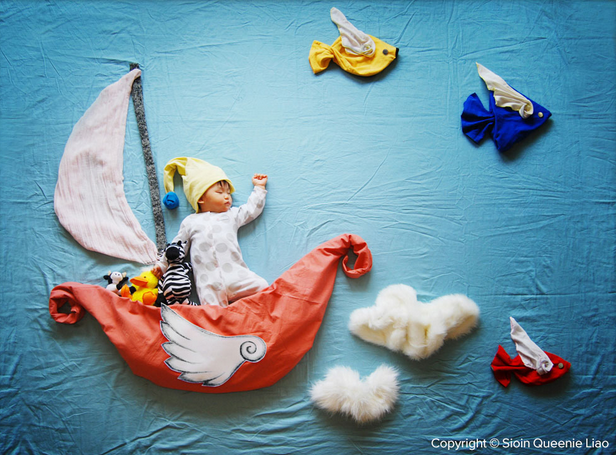
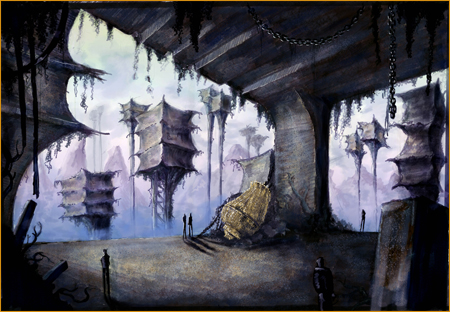
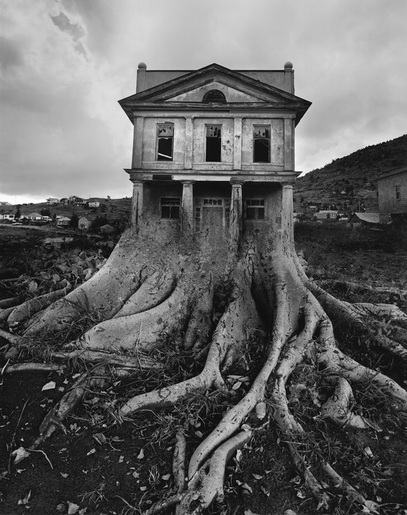 Jerry Uelsmann, Tree House, 1982 Jerry Uelsmann, Tree House, 1982 Background The book, "Invisible Cities" by Italo Calvino, explores the concept of imagination and varying perspectives. The explorer Marco Polo describes cities of his travels to the Chinese Emporer Kublai Khan. Because the two speak different languages, Marco Polo uses objects from the cities to describes them. Kublai Khan wanted to know about his expanding empire, looking to Marco Polo and traveling merchants to describe it. Assignment Your assignment is to read an excerpt from the book about a particular city. You must then photograph different objects to merge together to create an image from the city. You will manipulate the images either in the darkroom or in Photoshop. Note that if you choose the darkroom, your options will be slightly limited. Yours might be rather more of an altered negative. Objectives
Steps FOR DARKROOM
Steps FOR PHOTOSHOP
Grading Criteria
|
|||