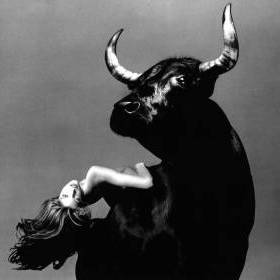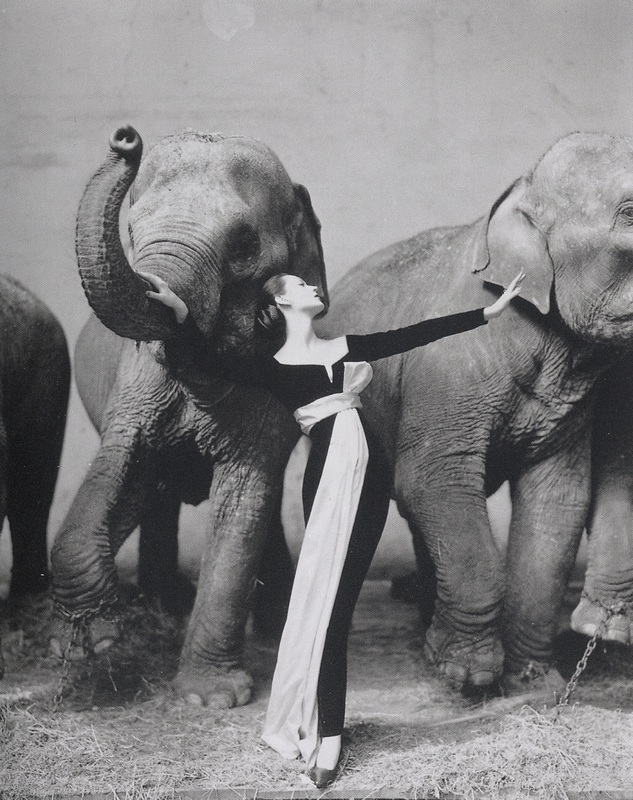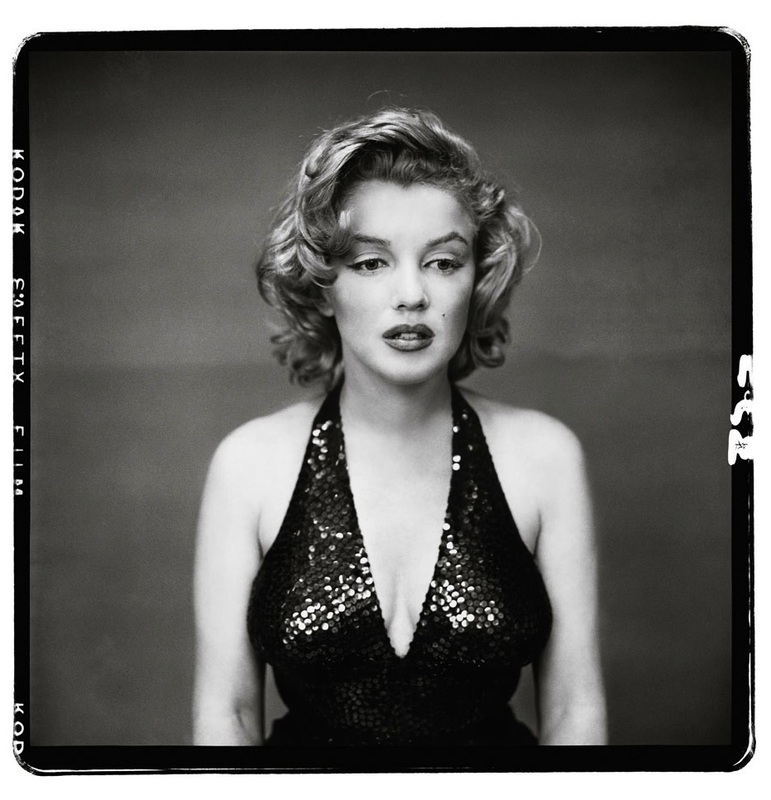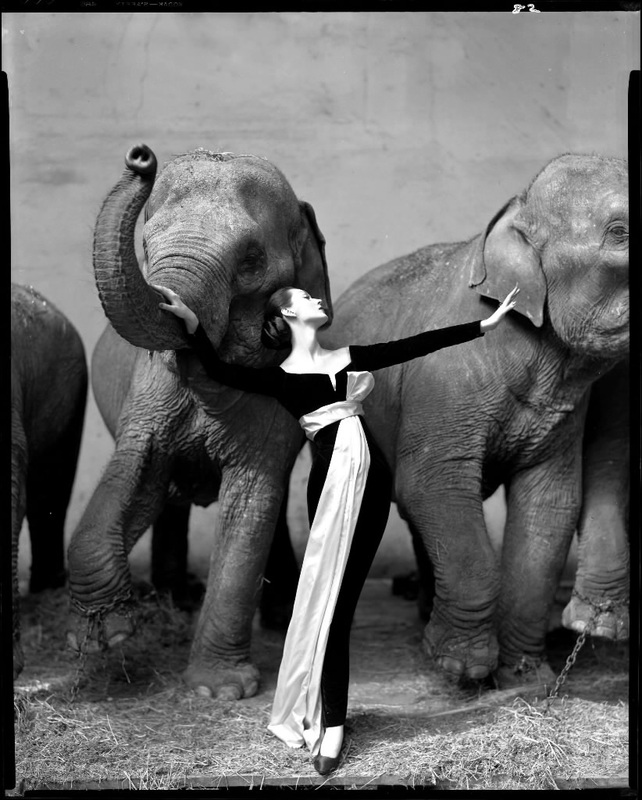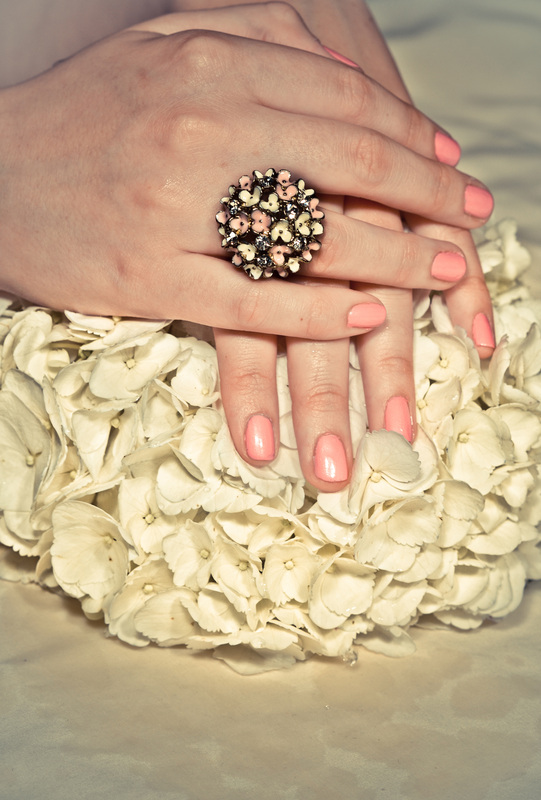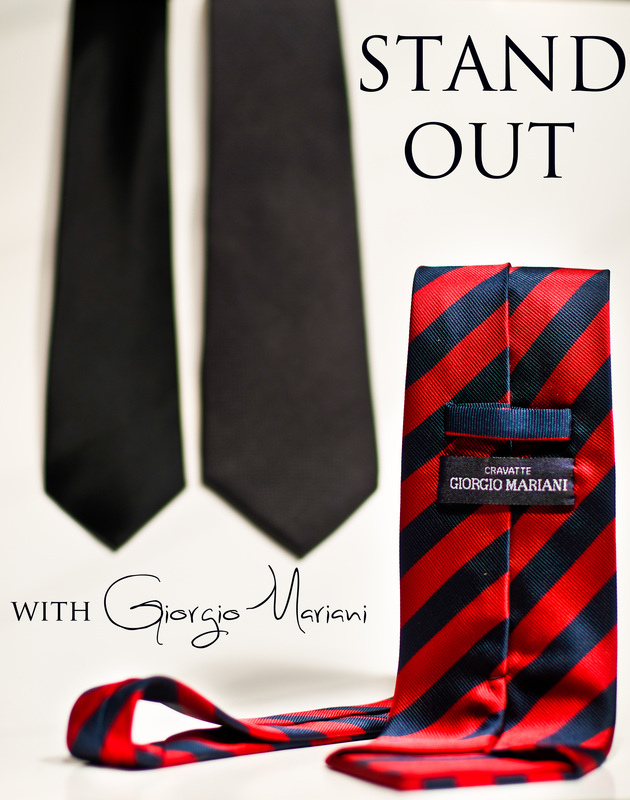
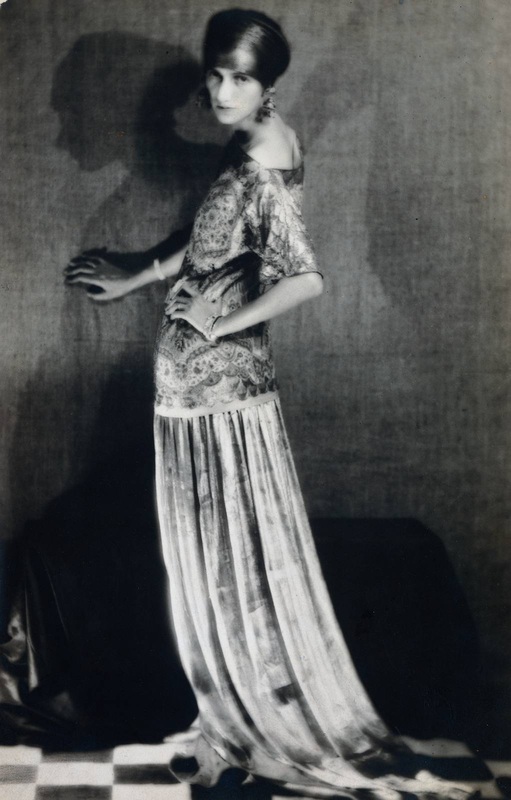
 Fashion Icon Richard Avedon Fashion Icon Richard Avedon Background Flipping through the glossy pages of magazines, how many images do you see of fashion and products being sold? What do you think of when you hear the word “fashion”? Chances are, images of catwalks, models, and couture clothing fill your head, but fashion is so much more. Fashion photography has been around since the advent of the camera. Fashion, like photography, is an ever-changing and evolving art form. There are many different types of fashion in America alone, leaving this assignment very broad. Artists to consider: Richard Avedon, Helmut Newton, David LaChapelle, Mario Testino, Ellen Von Unwerth Brands to consider: Forever 21, GQ, Free People, Louis Vuitton Assignment Your assignment is to submit 3 fashion photos and 3 product photos that could be printed in a magazine. You will mount two on board and put two on the back. You will be printing 2-8x12 prints and mounting on black board. This is your FINAL so show us everything that you’ve learned throughout the year. This project is a culmination of your EXCELLENT photography skills. Be sure to place BOTH photographs in the Google Drive folder before the day of the final. You may print both images in the classroom but it is your responsibility to have them both printed and mounted by the exam day. If you cannot make it to the printer then you may print them at CVS or another photo lab. During the exam day, you will write a written reflection. Tips:
102 Comments
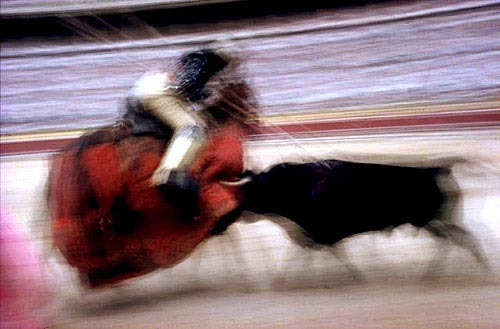
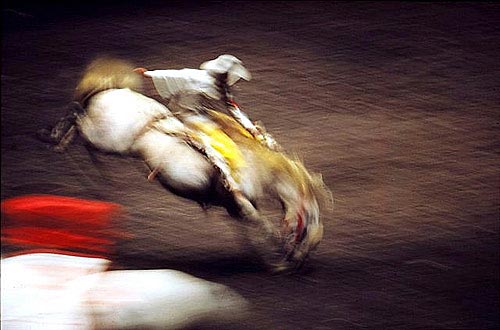
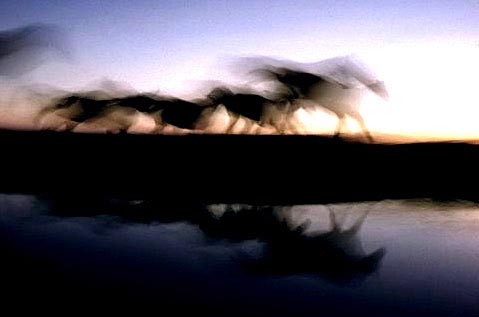
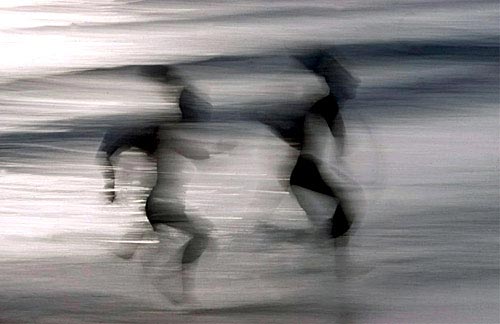
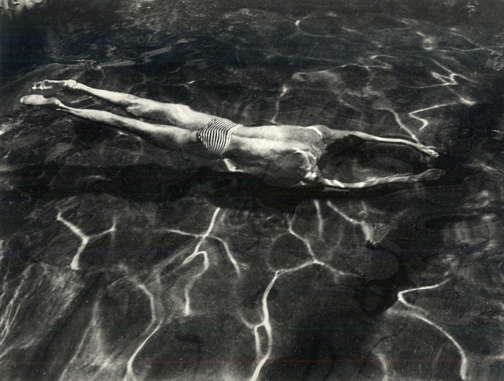
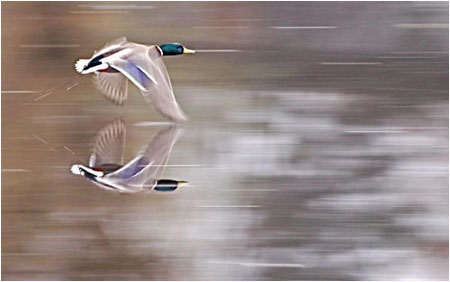
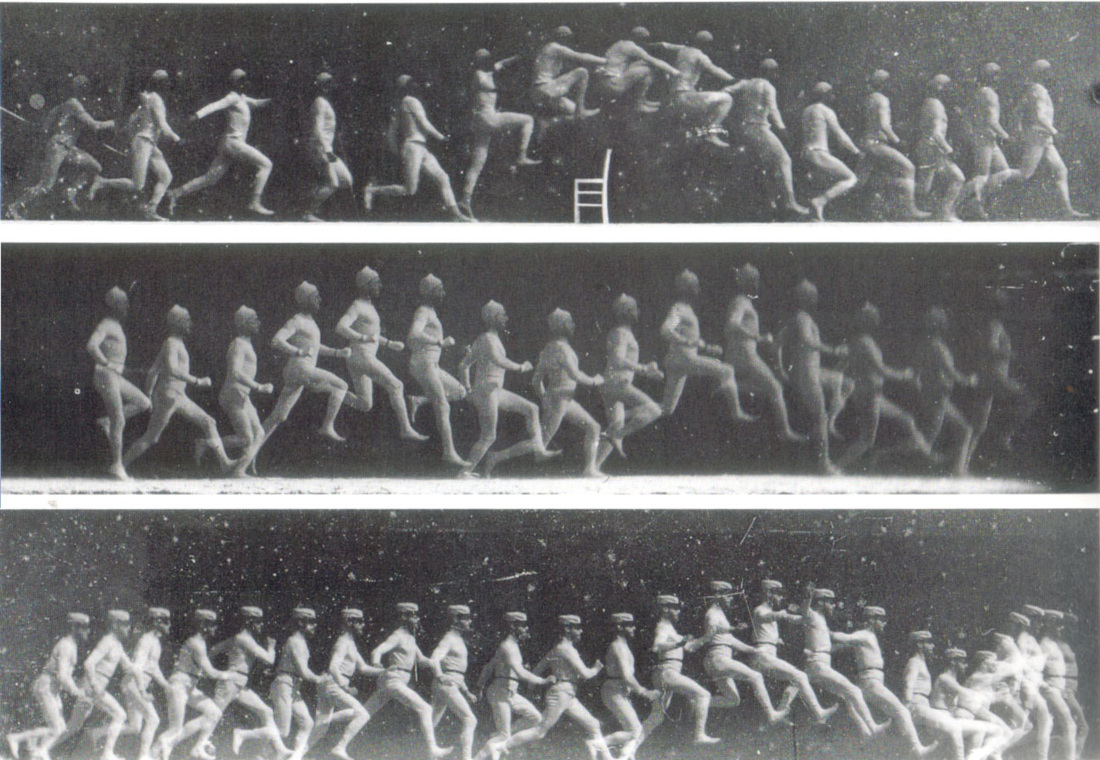
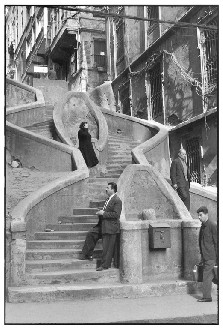
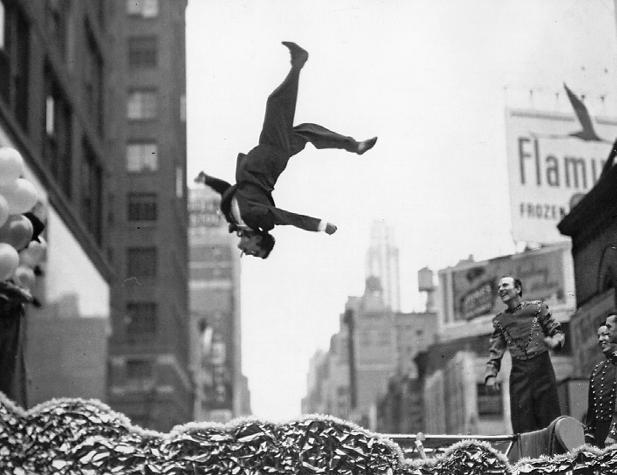
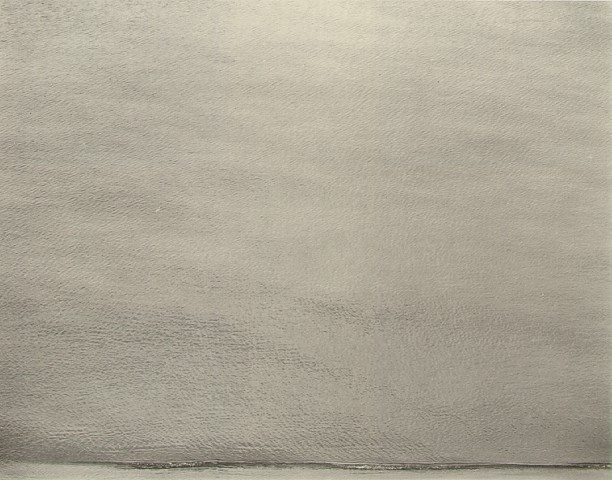
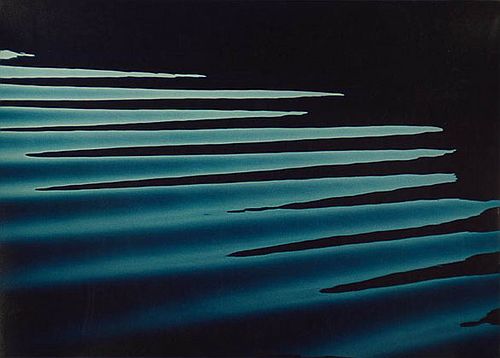
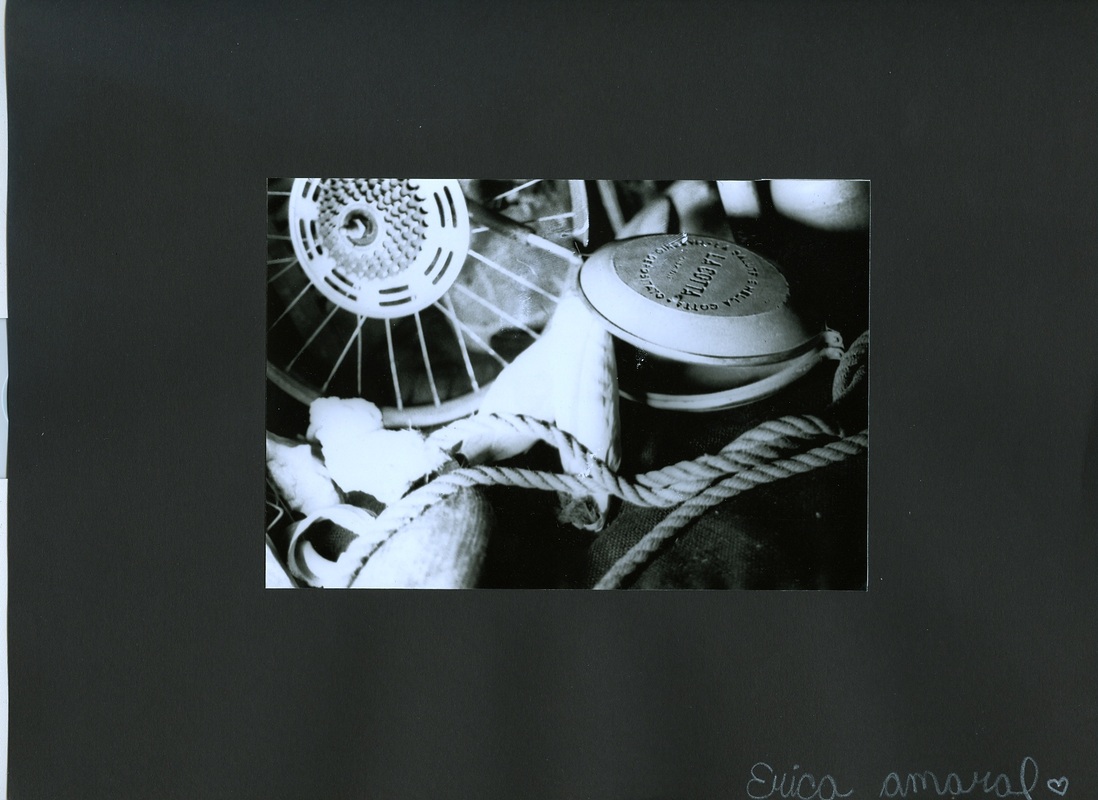
 Description In this project you are going to focus on the sense of movement. This can be done with actual movement in your photographs (ie sport photography, dance, cars, night photography, and long exposure) or the idea of movement. Think about those moments just before something is going to happen, like diving off a diving board, sliding down a slide, or getting on a bicycle. Your images should suggest movement even if there is no "actual" movement in the photograph. Also think about being more metaphorical and photographing things whose sole purpose is to move; like cars, bikes, roller skates, skateboards, etc. How could you create a sense of movement by photographing these types of objects? Artists to consider: Ernst Haas, Edward Muybridge, Otto Steinert, Henri Cartier-Bresson Assignment You must photograph (50 exposures) of images with a sense of movement. Definitely think about both the actual idea of movement and the suggestion of movement. Be creative and think outside of the box. These images should be printed and constructed well. Think about your frame and composition while you are photographing as well as your final intent. Pass in the following into the art folder. Print your favorite and mount on the front. Print the other two and tape on the back:
Steps
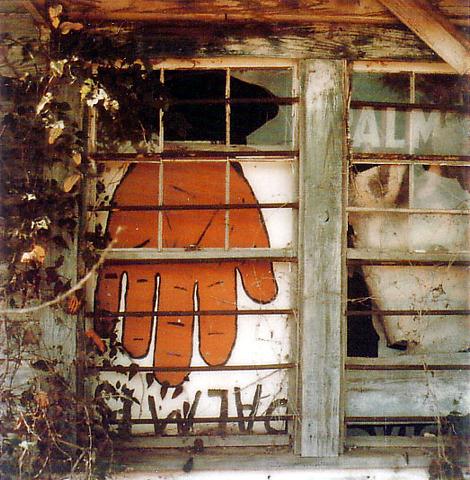
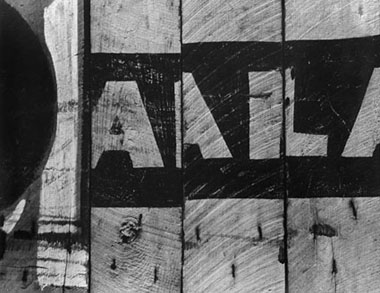
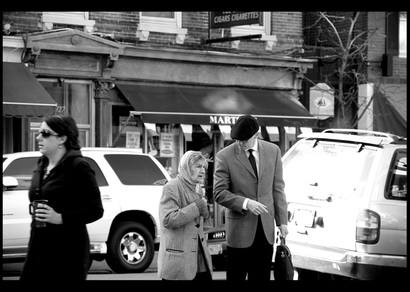 Shooting assignment: Boston: Past and Present
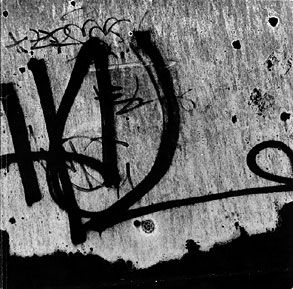
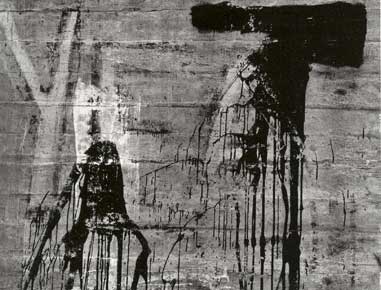
The city of Boston is steeped in history. Your job while you walk around the city is to photograph the juxtaposition between historic Boston and the popular culture that exists there today. This is a very open ended assignment and can be interpreted in many different ways. What I want to see in your photographs is your opinion and your personal point of view on our very unique city. Think about the signs and buildings in the city that date back hundreds of years. Think about streets and burrows that speak about the history of the city, and then think about who lives there today. Who or what inhabits the city? Where do you see both old and new Boston? Who works at the city’s oldest restaurants and shops? What surrounds the oldest houses and buildings in Boston? What does our contemporary signage and clothing say about the history of the city? All of these things should be on your mind while you are photographing. Reminders:
Grading Criteria
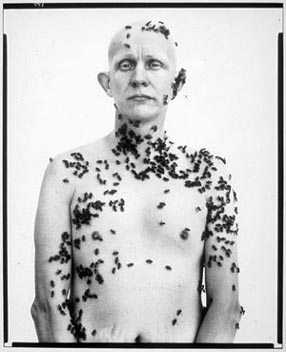
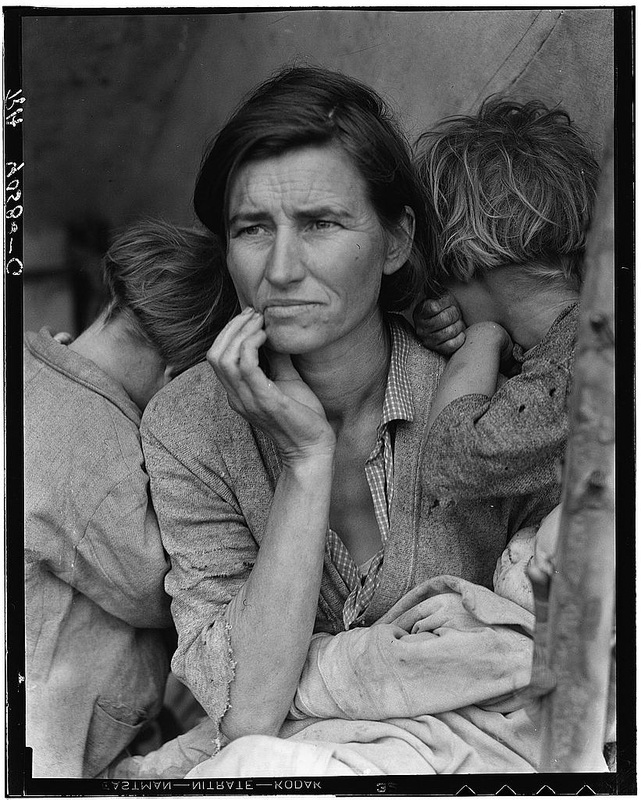
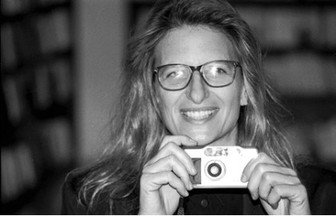 Photographer Annie Liebowitz Photographer Annie Liebowitz Due Date: Thursday April 17, 2014
Our predecessors have made photography a fine art medium and their rich history is full of knowledge and information that we have yet to delve into. This project tasks you with choosing a famous photographer who inspires you and researching him or her. With your knowledge, you will write a 2 page paper (double spaced) and create a 3-dimensional product that describes the photographer and their work. Paper (50%)
Grading Criteria:
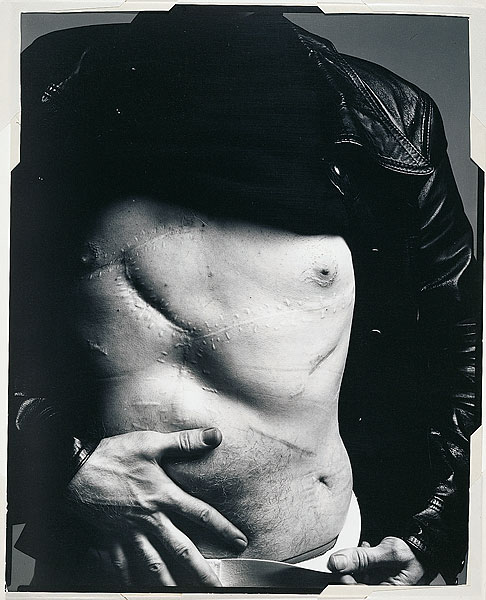
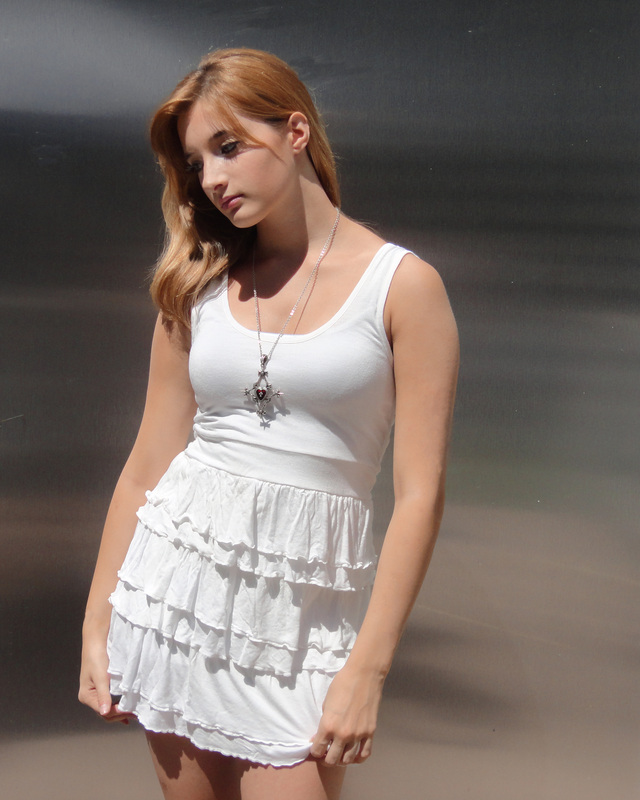
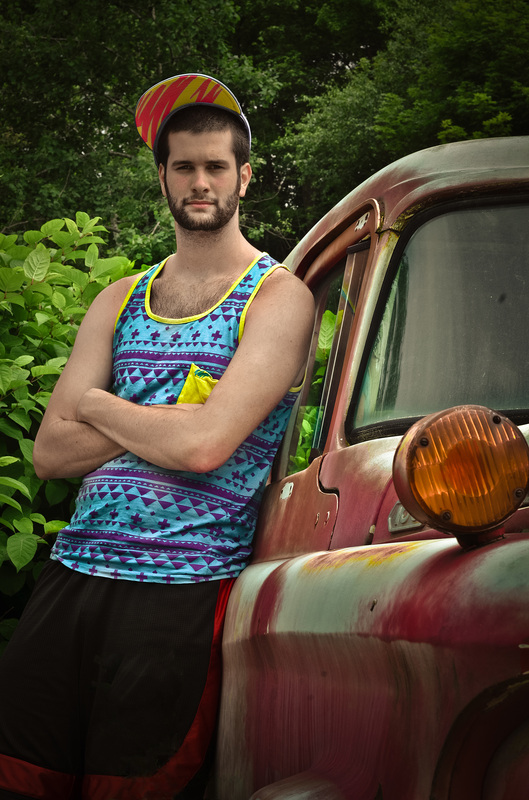
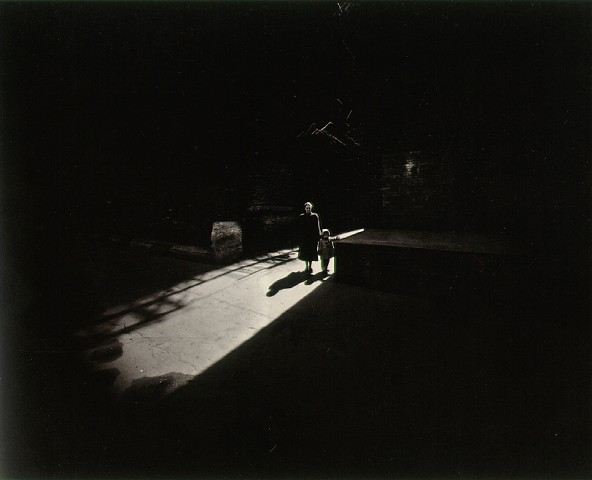
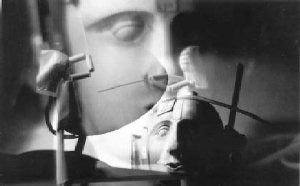
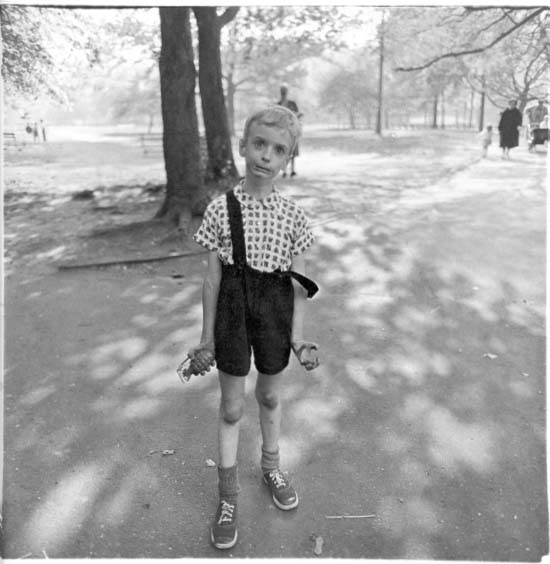
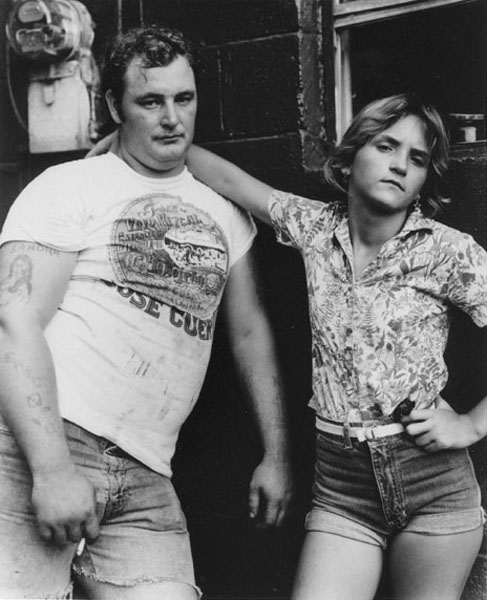
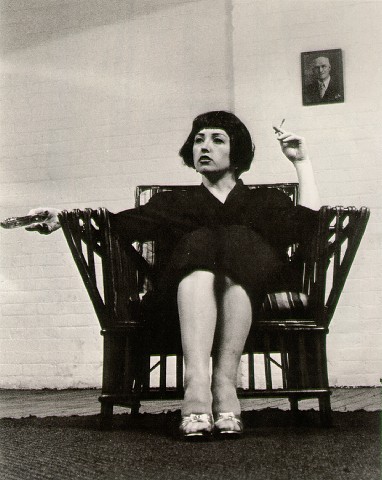
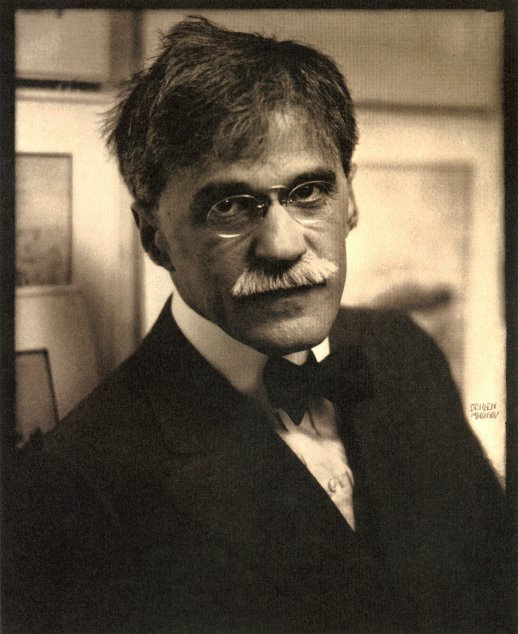
See the Photographers List *Only 1 photographer per person. Use the sign up sheet in the classroom. 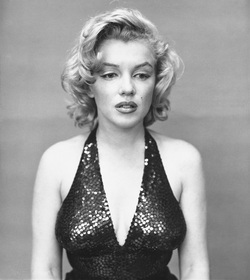 Background: A portrait grabs our attention. People are fascinated by other people and since the advent of photography, images of people have saturated our lives. You cannot get through a day without seeing a portrait of someone, whether it be in advertisements, on walls, or on a Facebook profile. Almost all professional photographers have worked with people taking portraits. In this project you must focus on the figure. Try to express the personality and expression of your subject through photographs. Put your viewer in familiar situations, so they don’t think about the fact that they are being photographed. You must not forget about the background however, your subject should be complemented by his/her surroundings. Richard Avedon Artists to consider: Man Ray, Richard Avedon, Alfred Eisenstadt, Annie Liebowitz, Helmut Newton Assignment: Your assignment is to photograph multiple portraits using an entire roll (24 exposures). You must photograph: yourself (self-portrait), a photograph of someone else, and a group portrait. Be careful not to take a snapshot. (Tell your friend to stand over there and smile brightly, saying “cheese”). Photography as a fine art does not allow for snapshots or cheesiness. You must turn in the following: *A high quality print includes: Full range of values, pleasing composition utilizing the elements and principles, utilization of a contrast filter, manipulation of lighting. In addition, the print should be evenly mounted on black paper with all edges glued down. Steps:
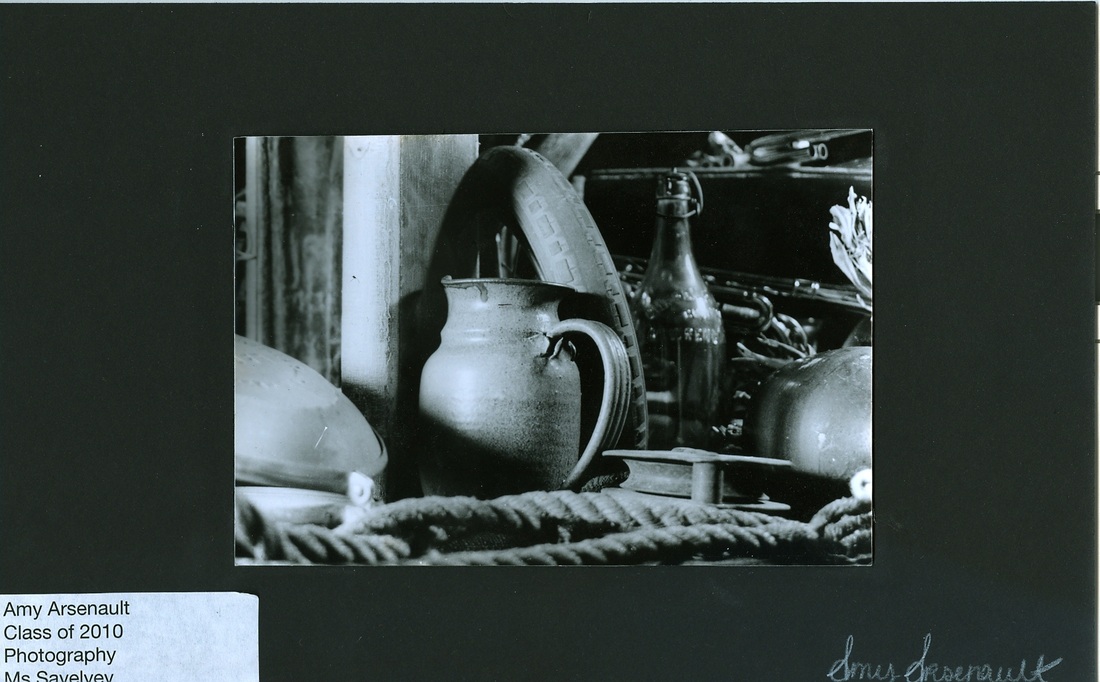
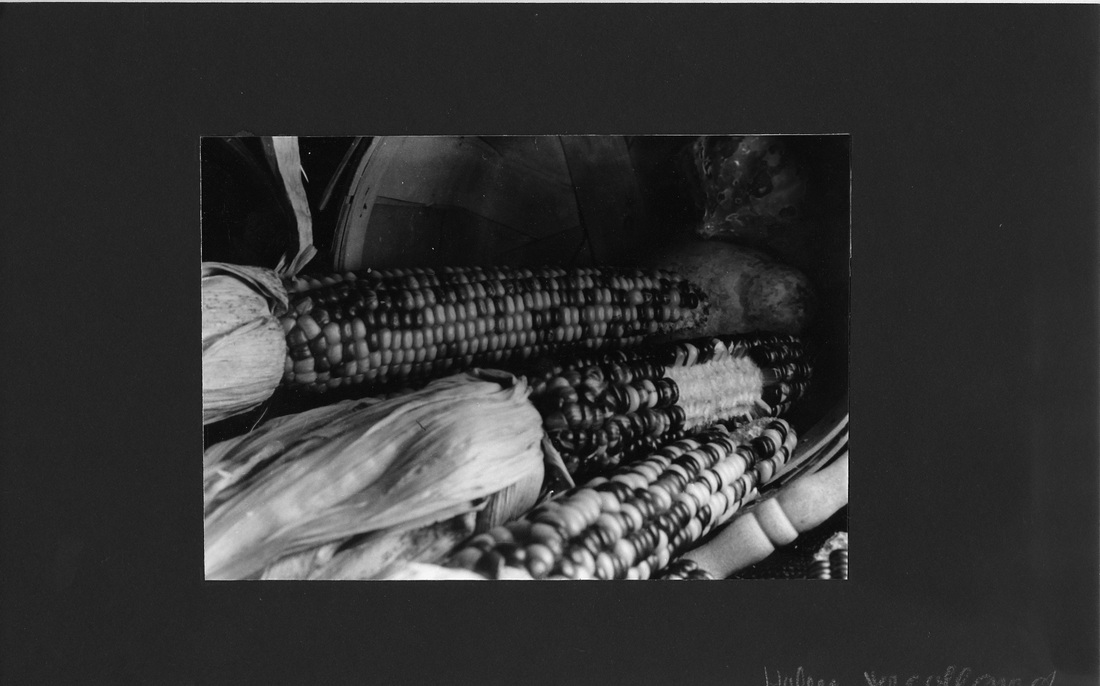
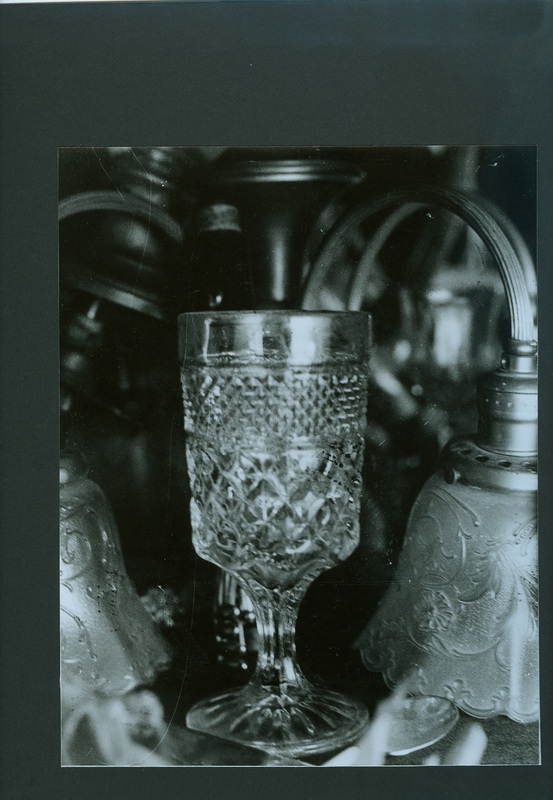
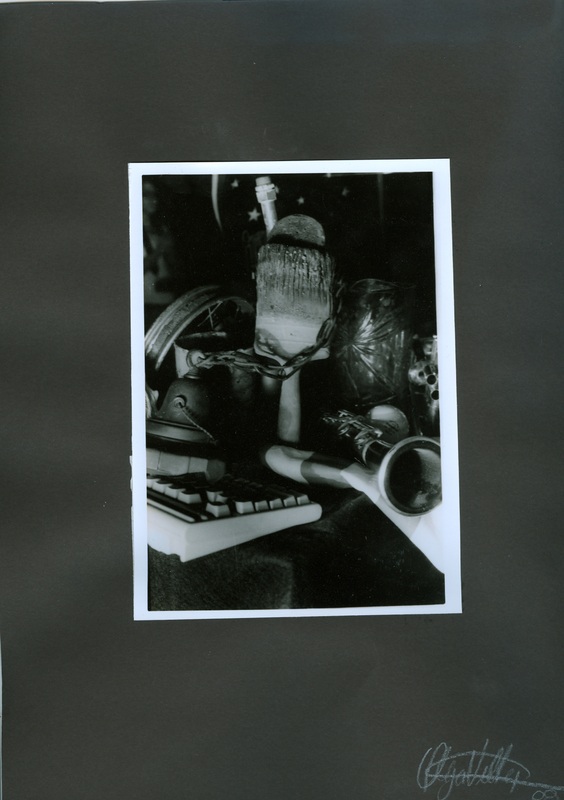
           Background: The still life has been around for centuries, used by artists in order to practice painting techniques. In photography however, we can manipulate many factors in a still life to create a pleasing composition using the elements and principles. Assignment: Your assignment is to photograph a still life and create 3 high quality prints* from the shoot. You will manipulate lighting. You will also learn about contrast filters which increase the contrast of your print. One 5x7 print must be mounted on the front of black paper with two 3x5’s on the back. You must also use a tripod for at least half of your roll. *A high quality print includes: Full range of values, pleasing composition utilizing the elements and principles, utilization of a contrast filter, manipulation of lighting. In addition, the print should be evenly mounted on black paper with all edges glued down. Steps:
Objectives:
Self-Critique Questions:
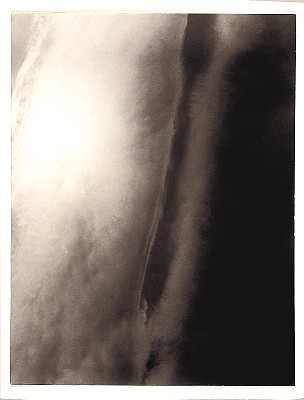
Tips to Get Started: The eye has a much larger range of sensitivity than film, therefore, beautiful rays may look appealing to the eye but may turn out as harsh white blotches on the film. You need to understand how light affects film. Just because you can see the still life doesn’t mean that it will be reproduced on film. Resources: Lighting tips for beginners Grading Criteria:
Vocabulary:
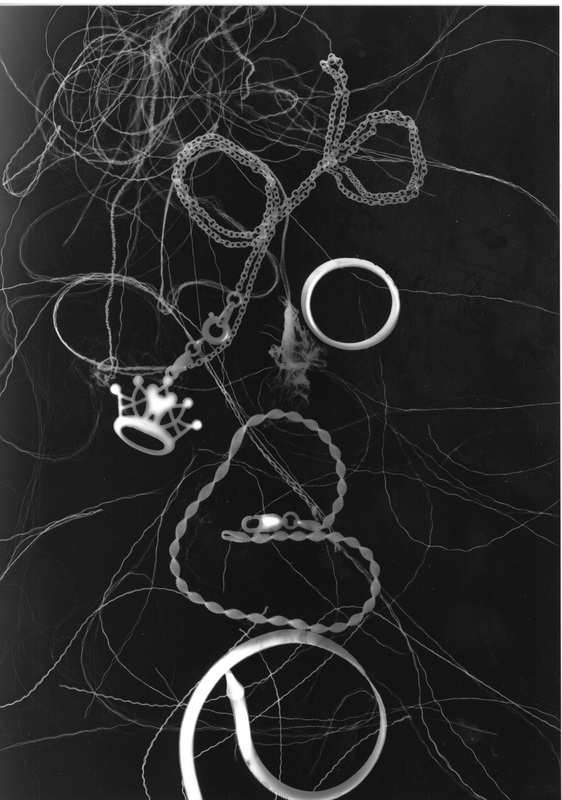
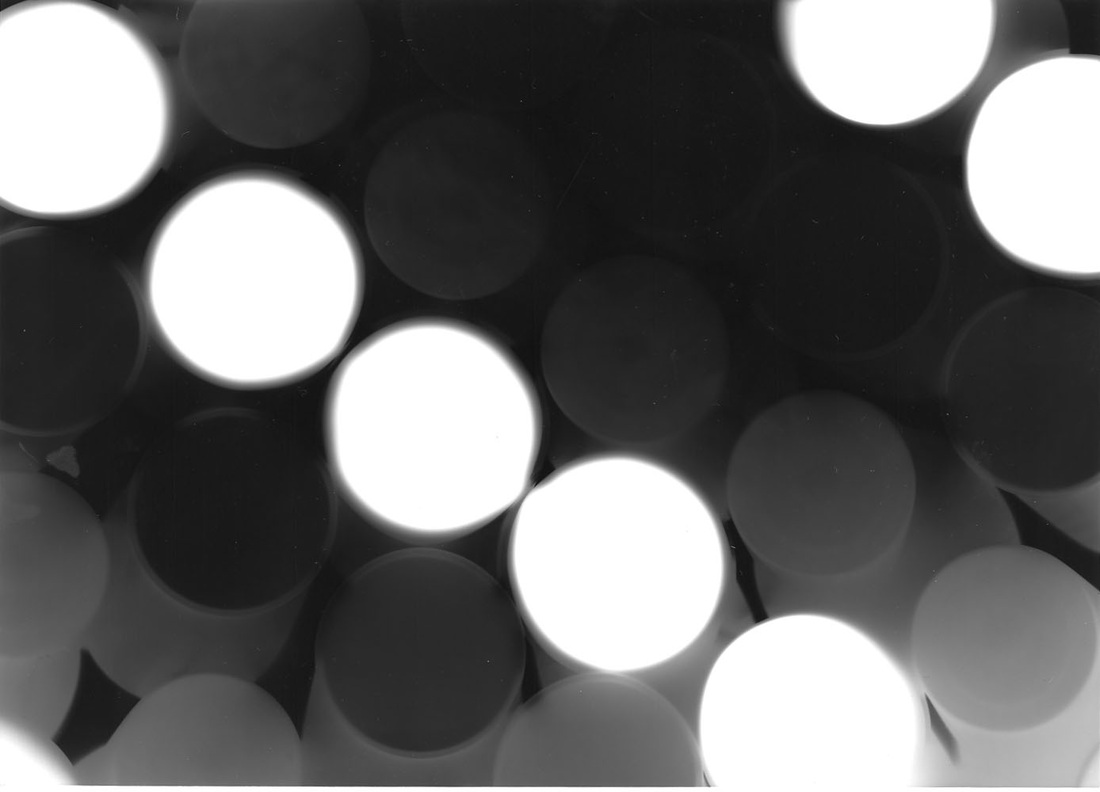
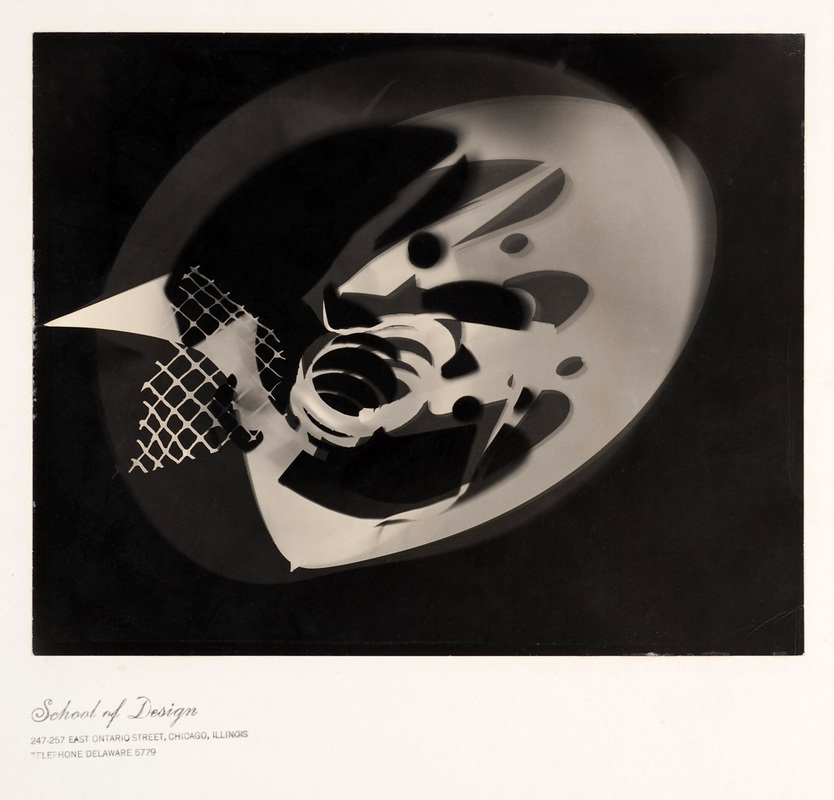
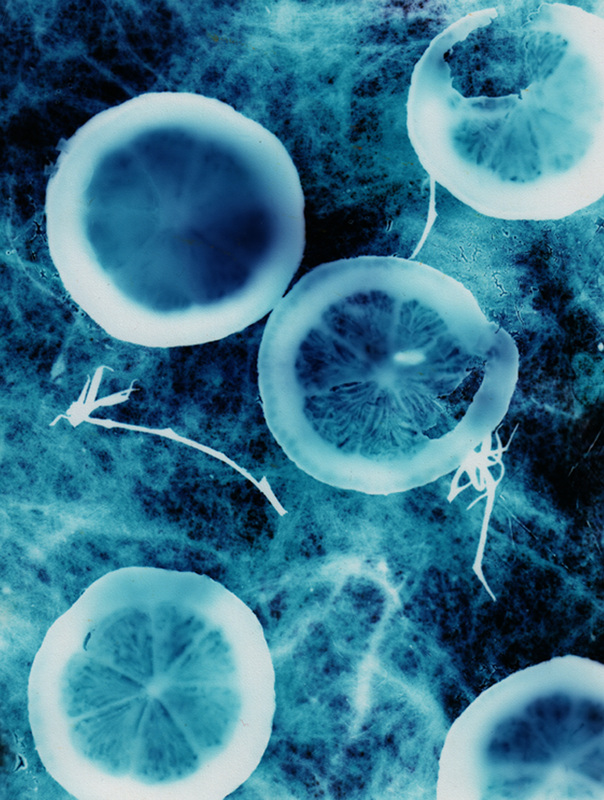
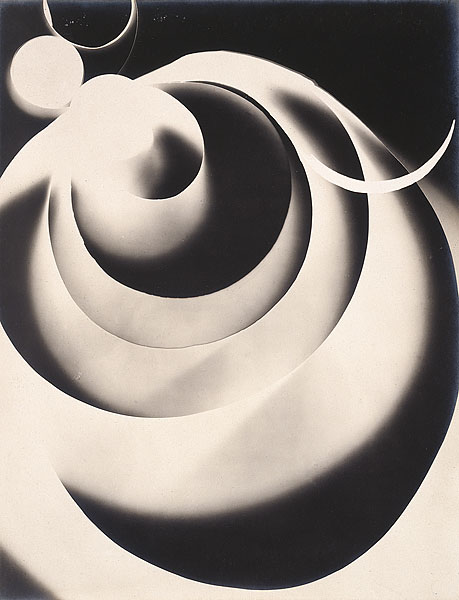
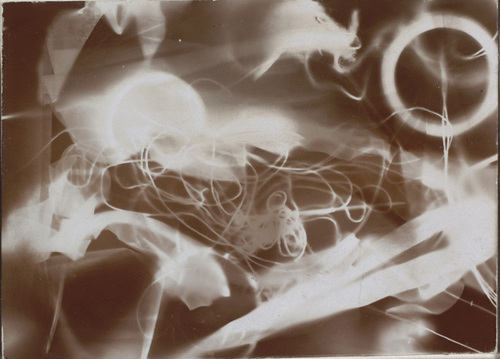
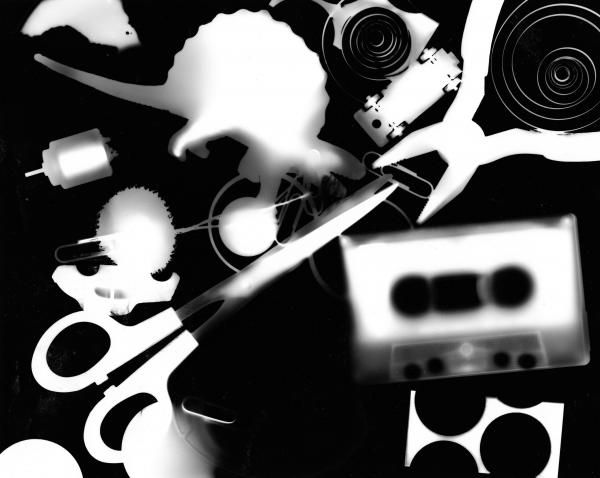
              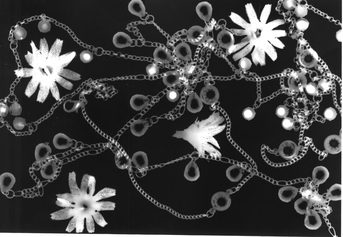 Photogram by Farah Shaikh (class of 13) Photogram by Farah Shaikh (class of 13) Background: Photograms (or rayograms) were made famous by photographer, Man Ray but they were actually invented by from 1843, Anna Atkins, who illustrated the book, British Algae: Cyanotype Impressions which was the first book illustrated with photographs, which were solely photograms of botanical specimens. Assignment: For this assignment you must study photograms and create two photograms yourself. 2 Photograms must be passed in. *They must contain different objects and look like two different compositions. Steps:
Objectives:
Grading Criteria:
Self-Critique Questions:
Tips:
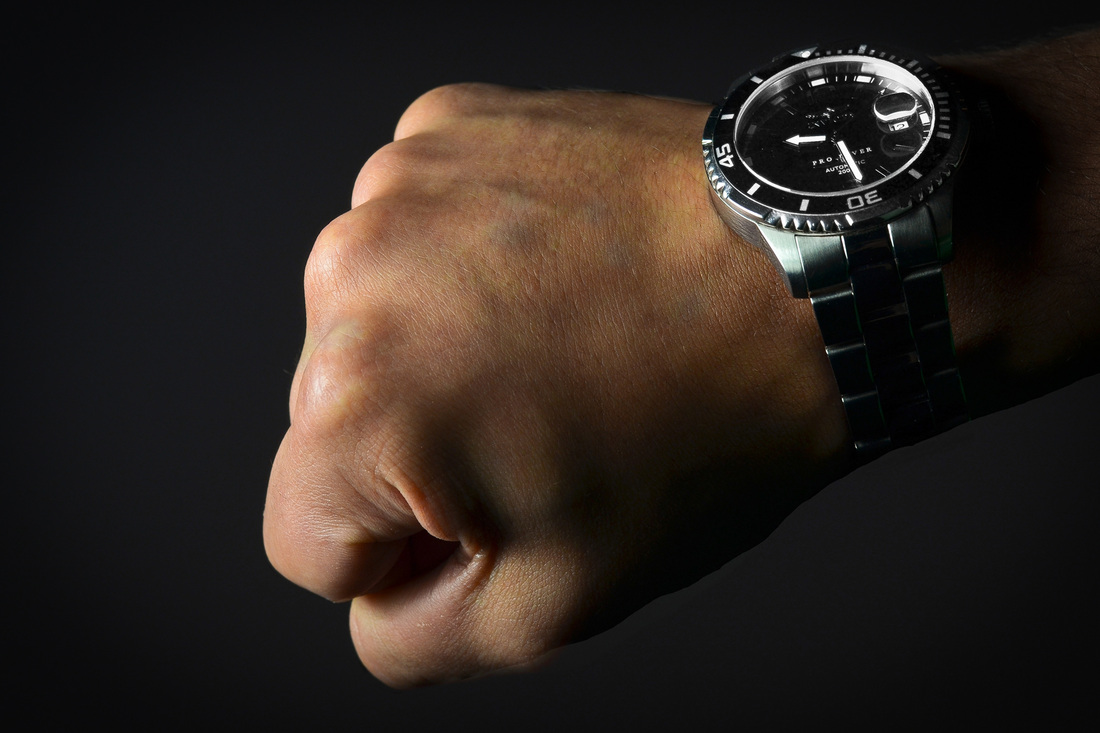
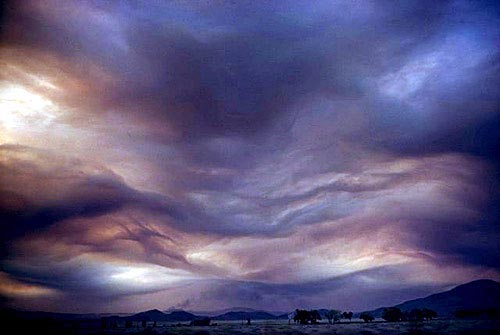
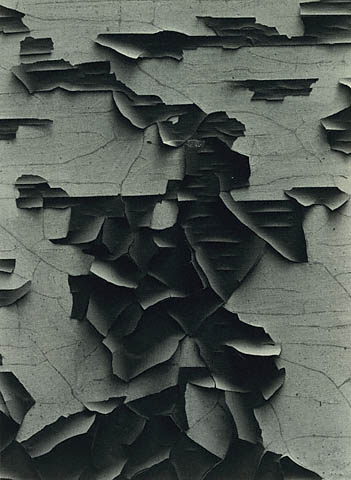
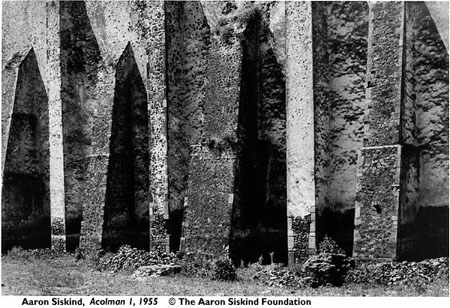
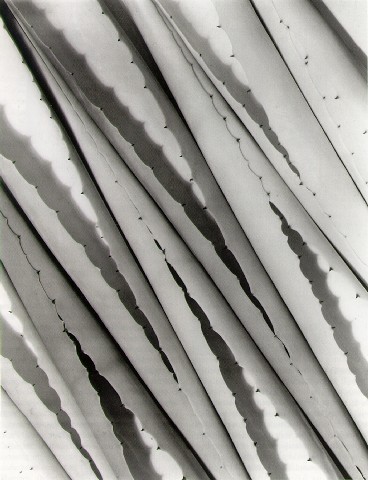
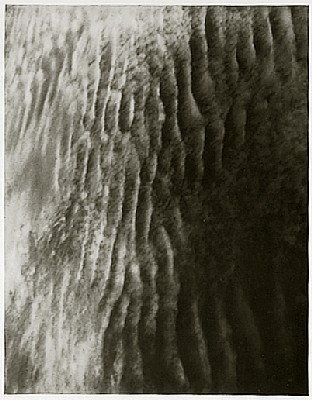
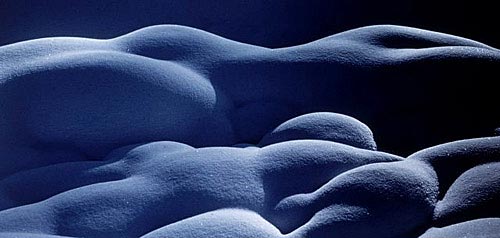
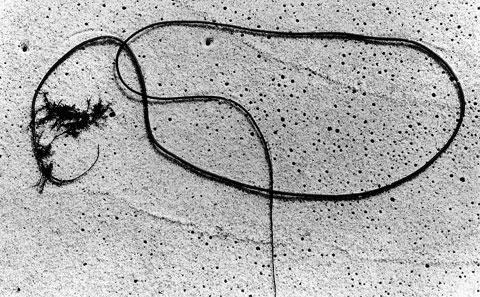
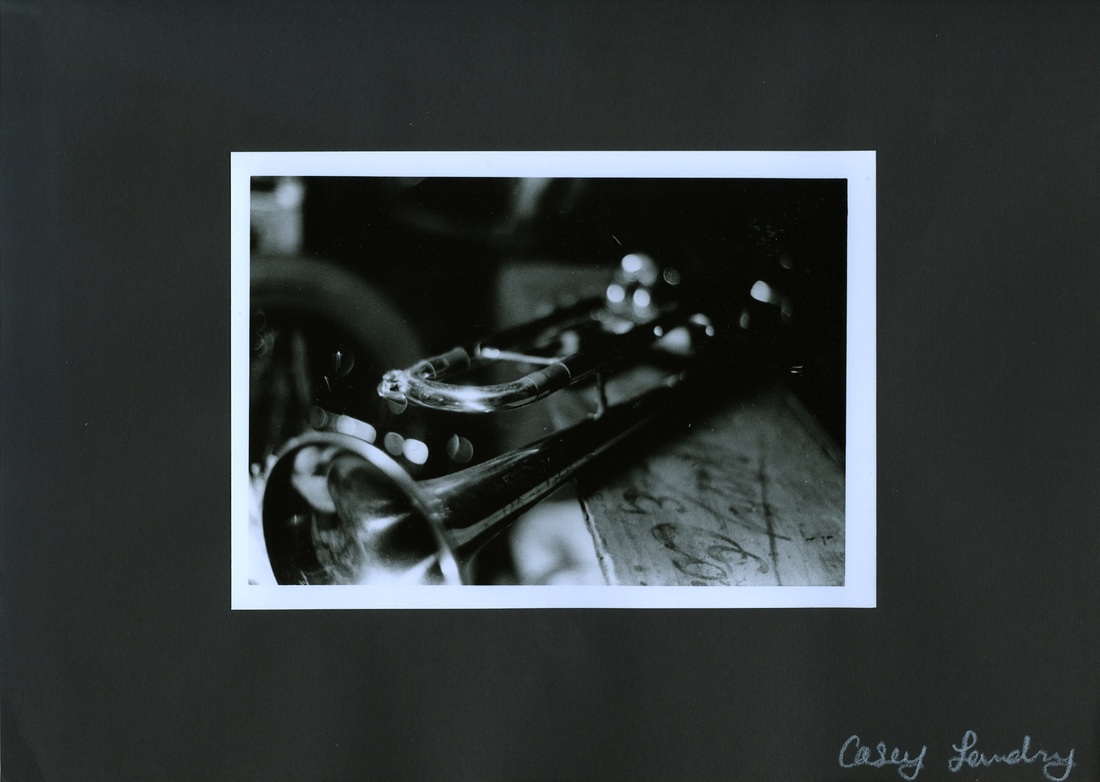
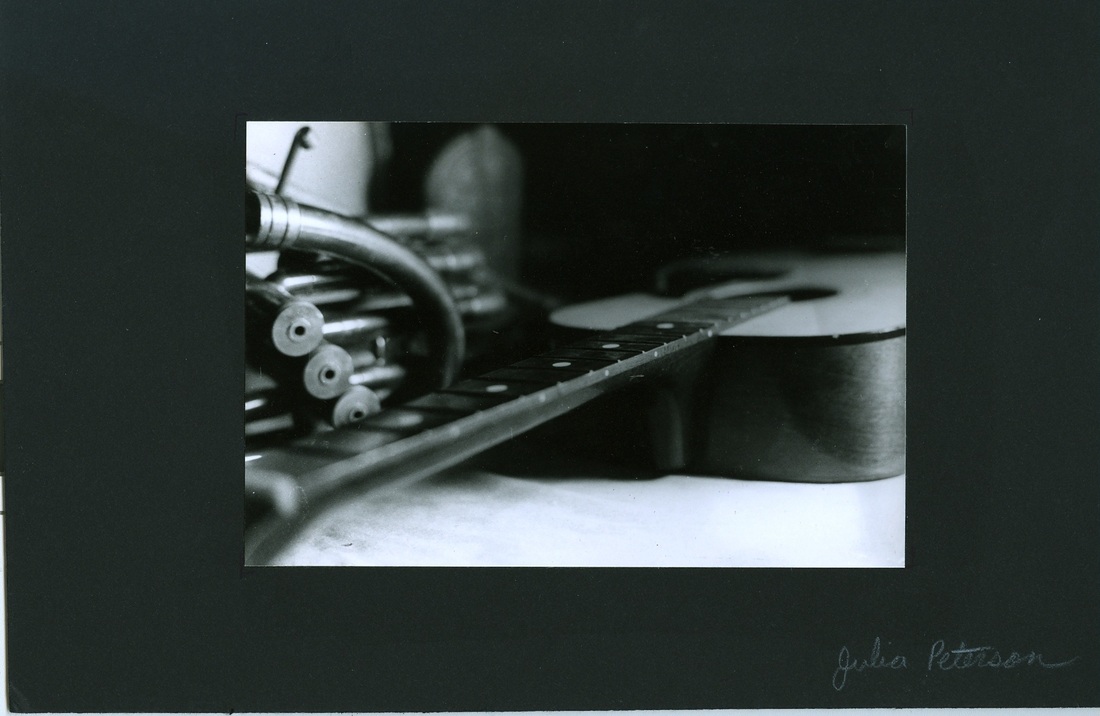
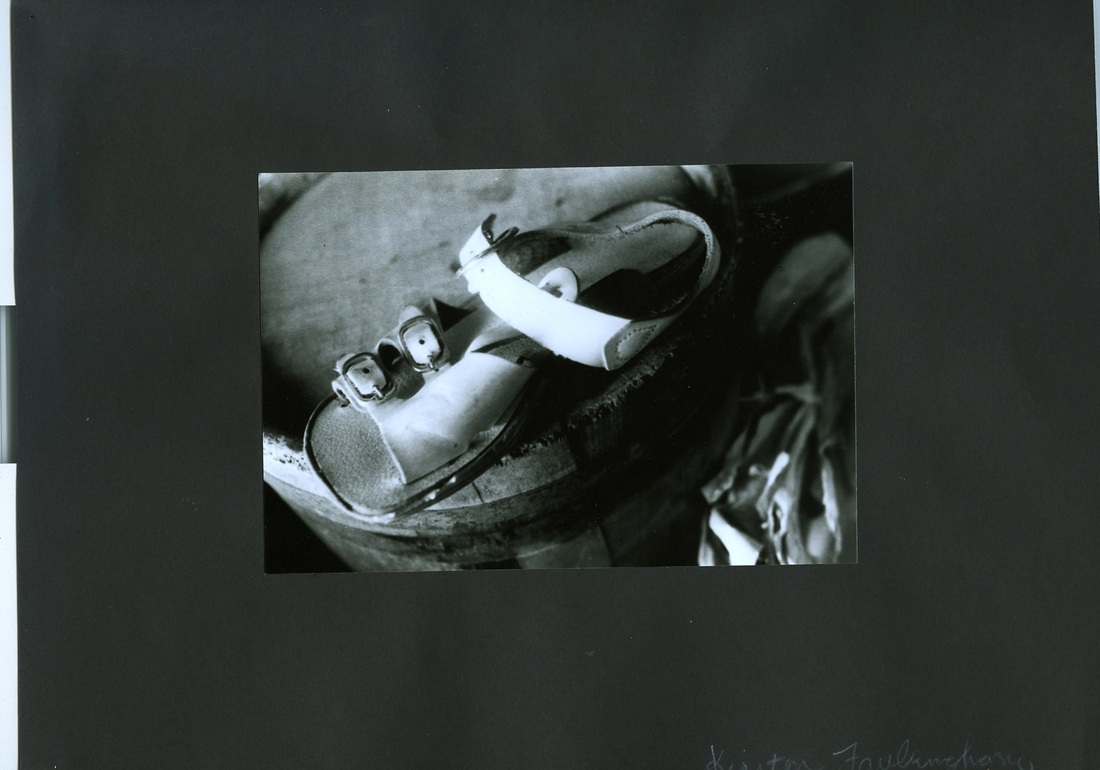
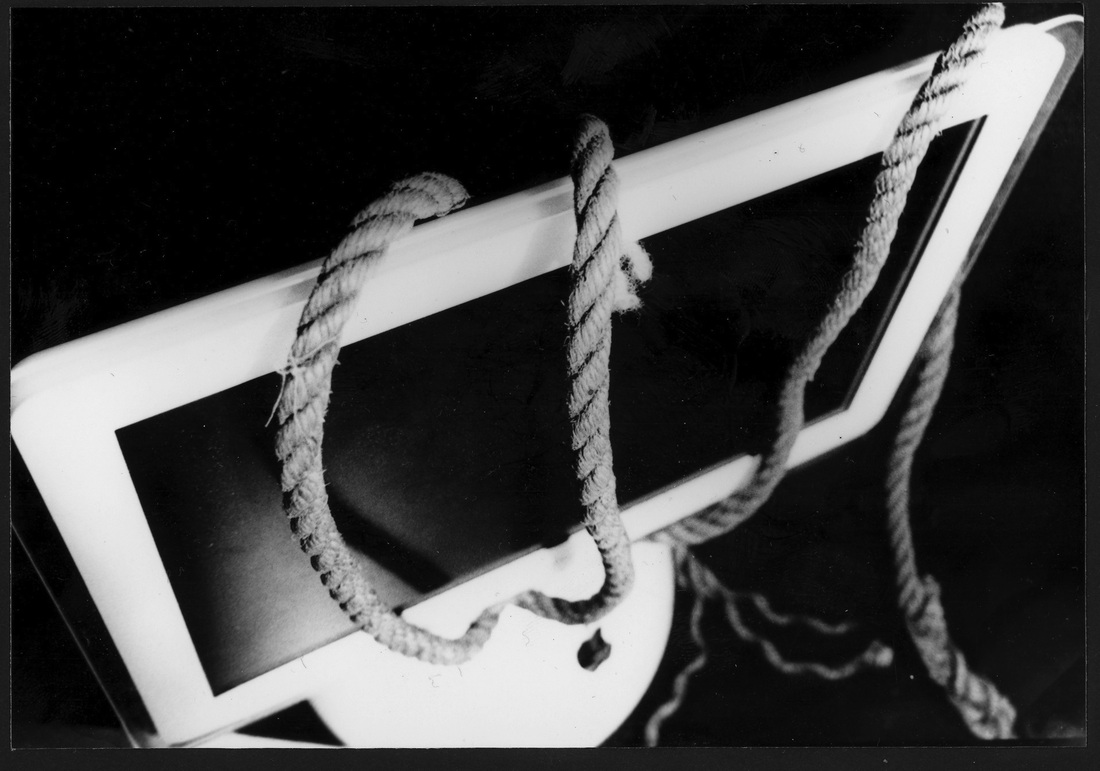
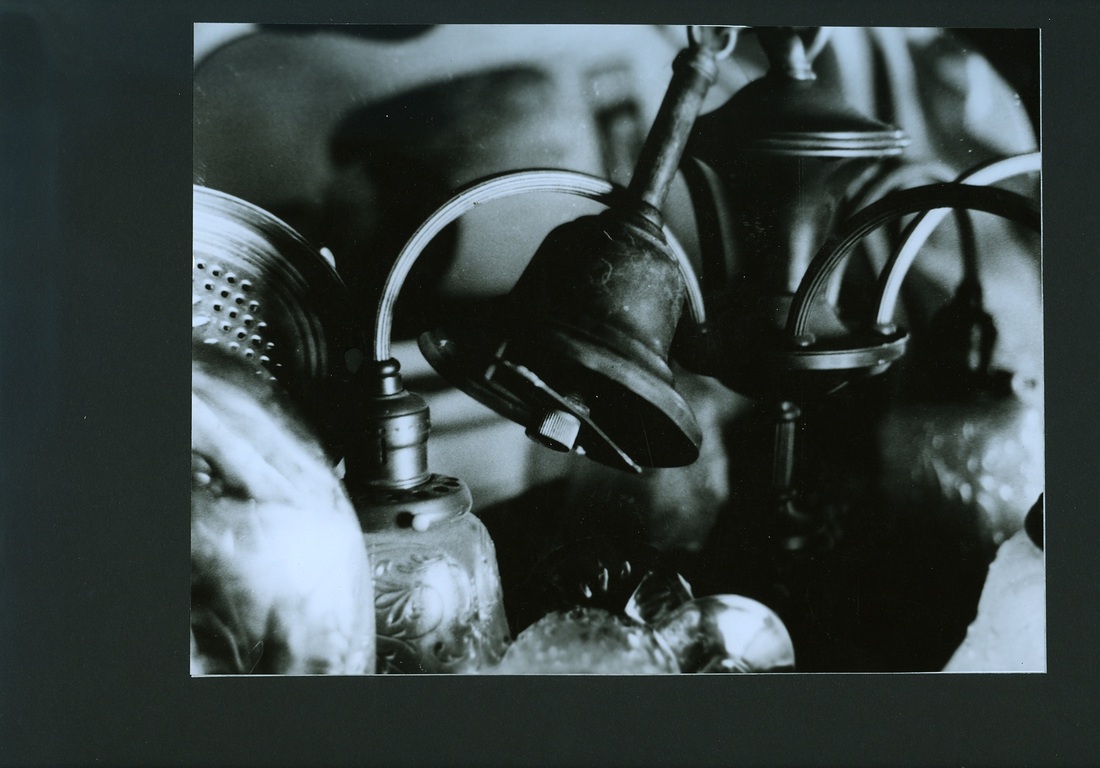
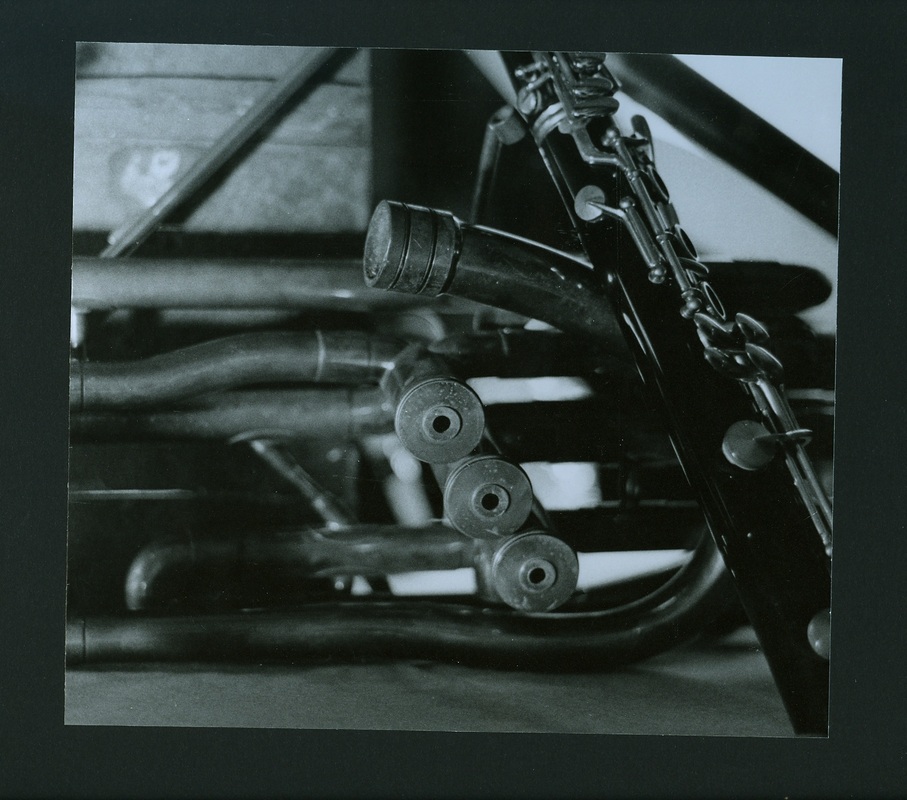
            Ernst Haas Ernst Haas Macro photography refers to a style of photography where the subject is close-up (usually of small objects). Since many of you have standard lenses (or prime lenses), you must move close to your subject in order to zoom in. You will want to frame your subject and create an interesting composition. Think about how you can make ordinary objects look extraordinary. Some of your images may turn out to be abstract. Artists to consider: Aaron Siskind, Weston, Man Ray Assignment: You must photograph a roll (24 exposures) of “close-up” and/or abstract objects. You are responsible for making something appear unique and interesting. You are also responsible for creating the “perfect print”. Think about shapes, black and white tones, line, texture, light, and shadow. Steps:
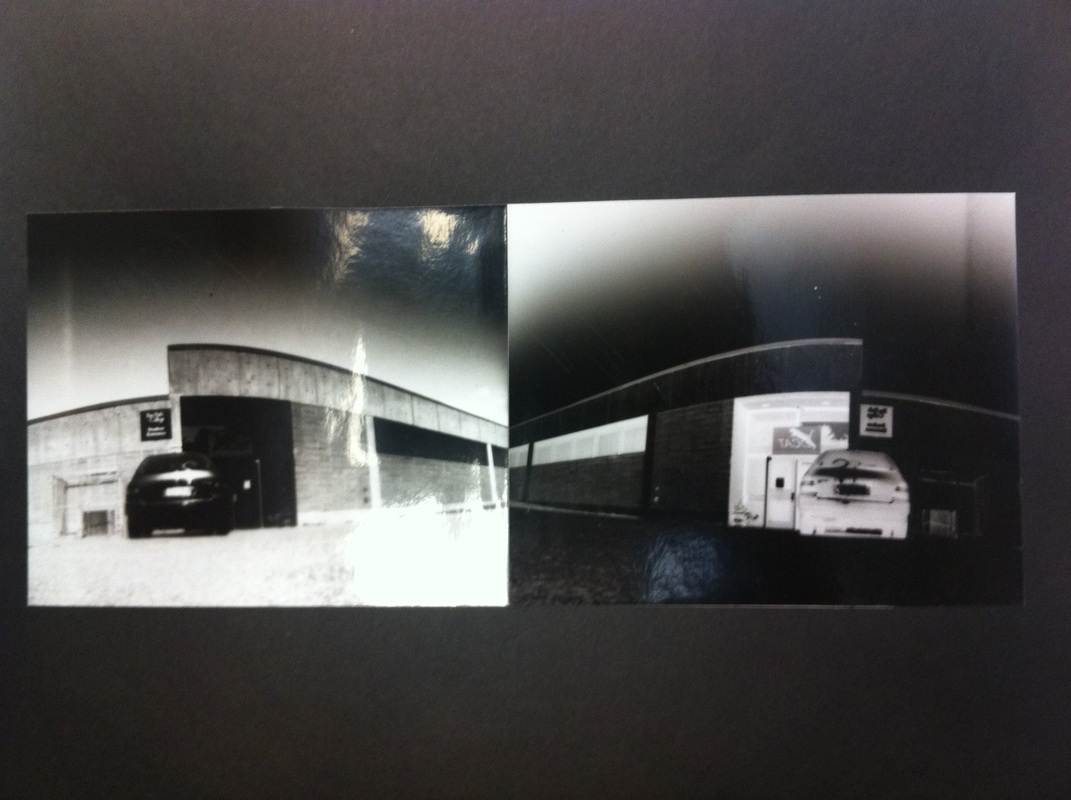 Student Pinhole Example Student Pinhole Example Project Description:
A pinhole camera, also known as camera obscura, or "dark chamber", is a simple optical imaging device in the shape of a closed box or chamber. In one of its sides is a small hole which, via the rectilinear (straight lines) propagation of light, creates an image of the outside space on the opposite side of the box. Aristotle wrote about a rudimentary concept of the pinhole camera. Today, photographers continue to use pinhole cameras for artistic purposes. Many pinhole cameras can be bought (even pinhole kits can be purchased), but we are going to make ours from scratch! Objectives:
Materials:
Steps:
Content
Tips to Get Started:
Start timing your exposures using this chart:
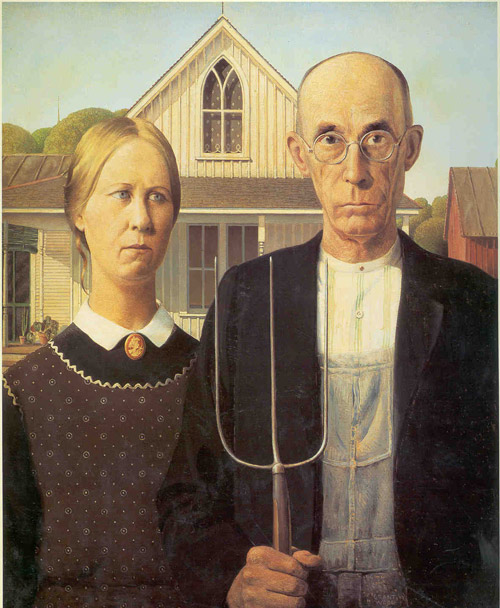
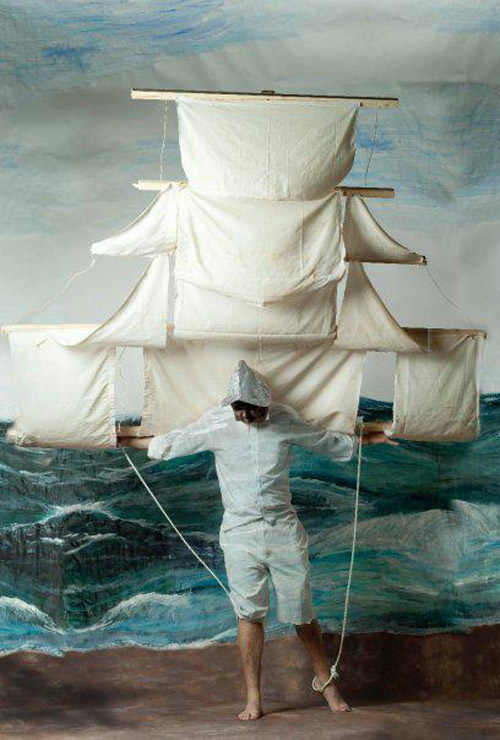
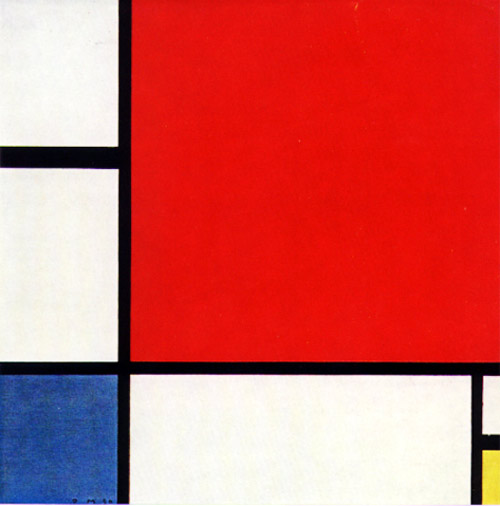
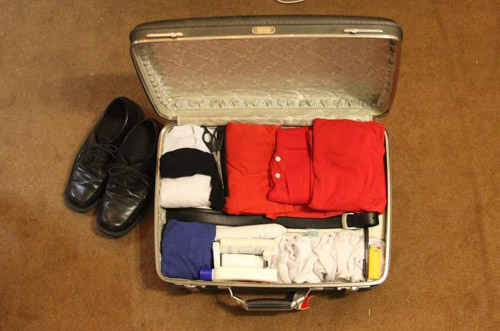
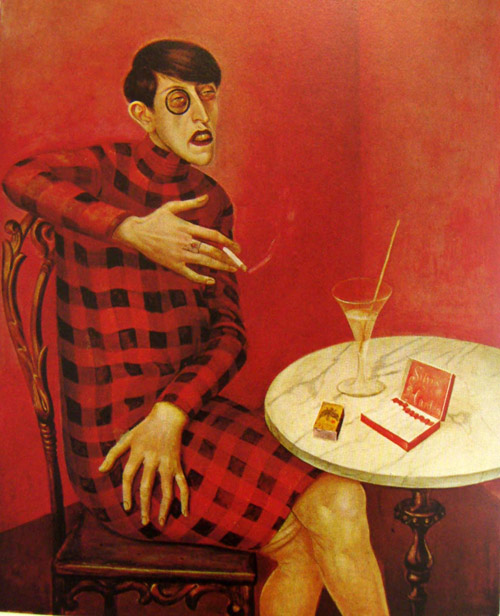
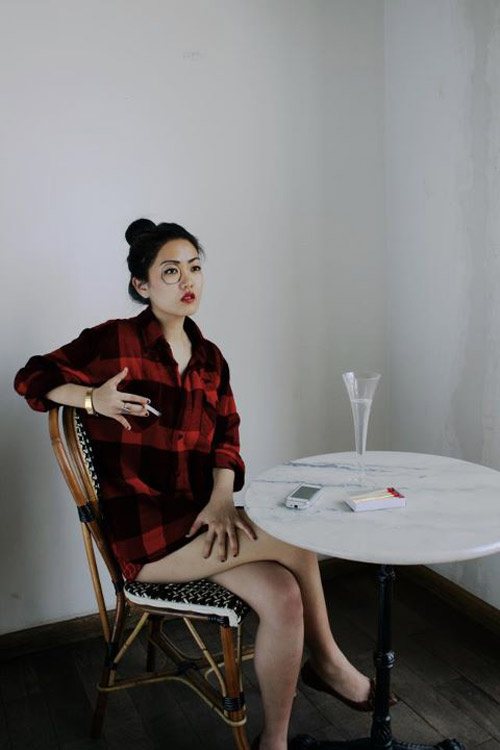
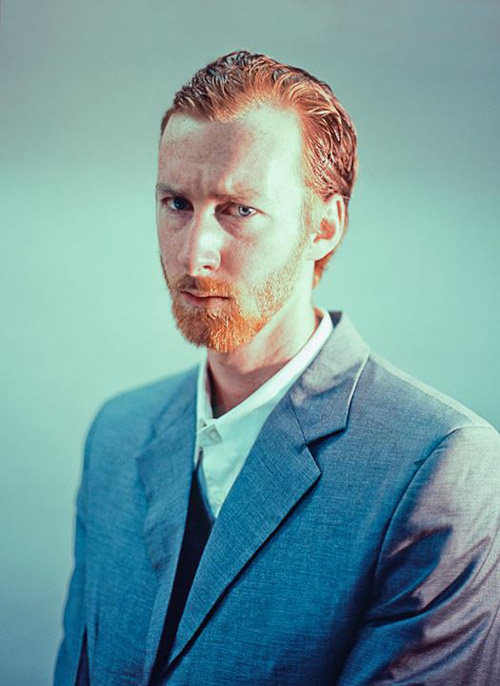
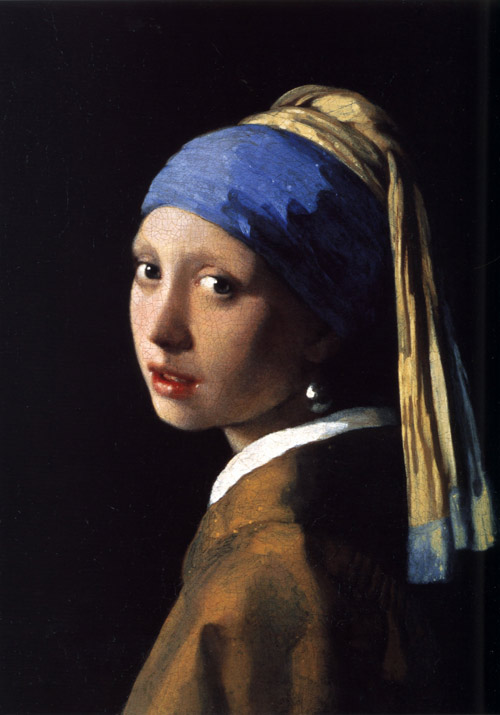
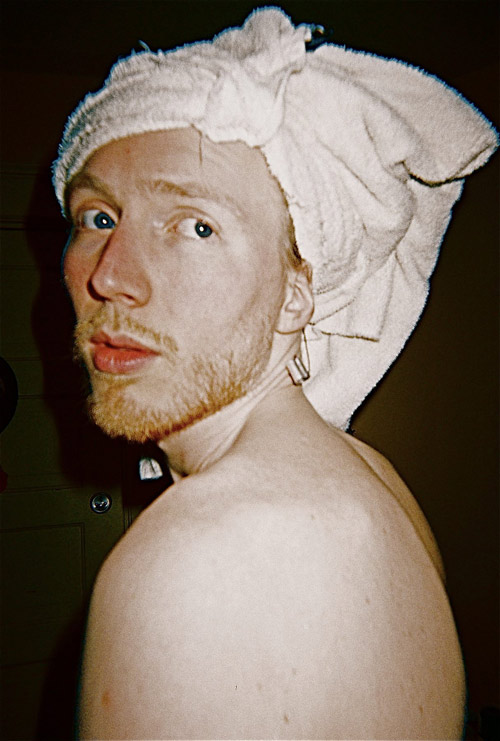
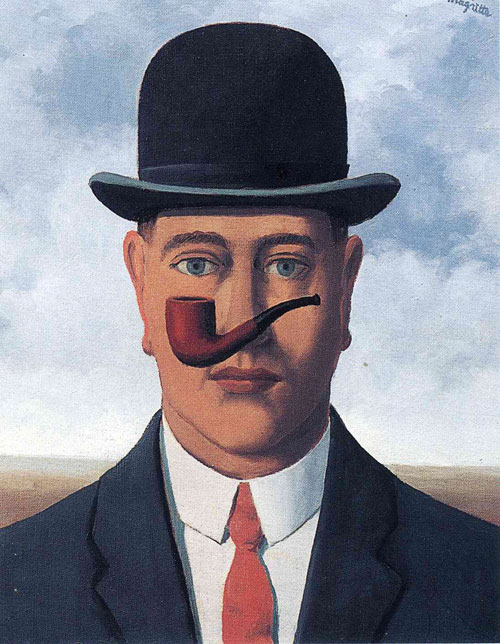
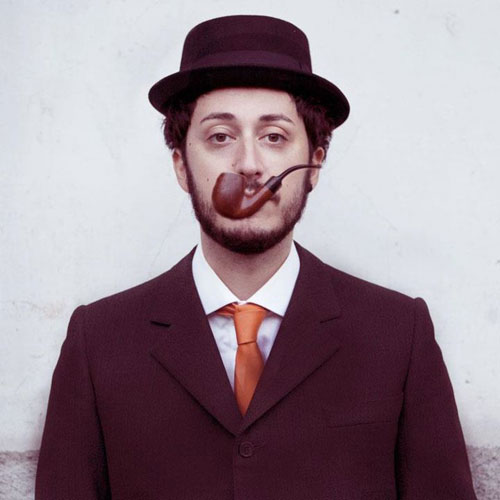
http://www.pinhole.cz/en/pinholecameras/whatis.html 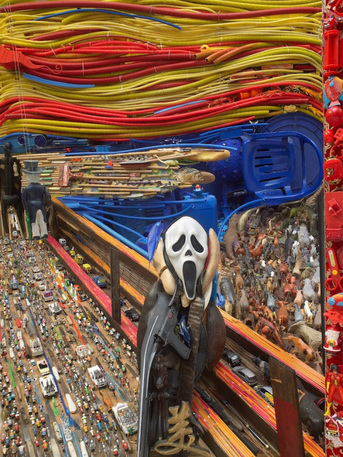 PROJECT: 50% Background: The photography midyear will have two parts: a project and an exam. The project will be worth 50% and the exam will be worth 50%. See the midyear exam study guide for the information you will be tested on. Your project is to choose a famous painting and recreate it using any interpretation you think would be appropriate. You must approve your choice with me before you begin. I have books in the photography room that you may use for reference. The BHS library is also a great resource. You will print and mount these photographs before the midyear. We will do a crit on the day of the midyear. Things to think about:
MIDYEAR EXAM: 50% Use your notes, quizzes, and handouts to prepare for the midyear. You should study the following topics:
                |