Mr. March Mistler Art + Design
  • Blog
  • Web Design
  • Dig Pub
  • Fashion
  • Photo
  • Graphic Design
  • Fashion 2
  • Student Gallery
  • About

Web Design

Web Design is a full year class open to all students. Students learn about the fundamentals of web design coding and layout while researching and applying the usability principles.
Course Expectations

HTML Project: Heroes & Villains

4/7/2016

0 Comments

 
Picture
Picture
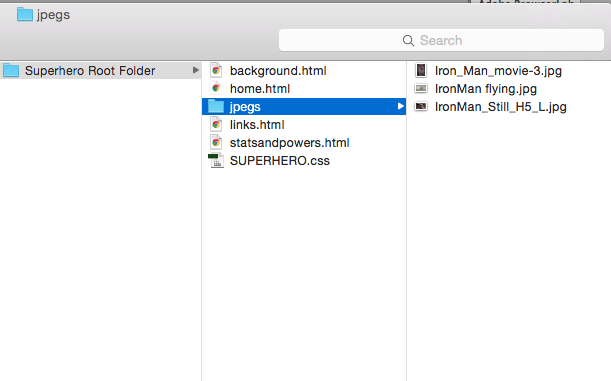
This is how your root folder should be organized


Assignment:
Your assignment is to create a fully functioning website with 4 different pages that link to one another using HTML code and utilizing the root folder, absolute paths, and relative paths. The theme of the site is: HEROES or VILLAINS. This assignment will be weighted as a project grade. 

HTML Directions:
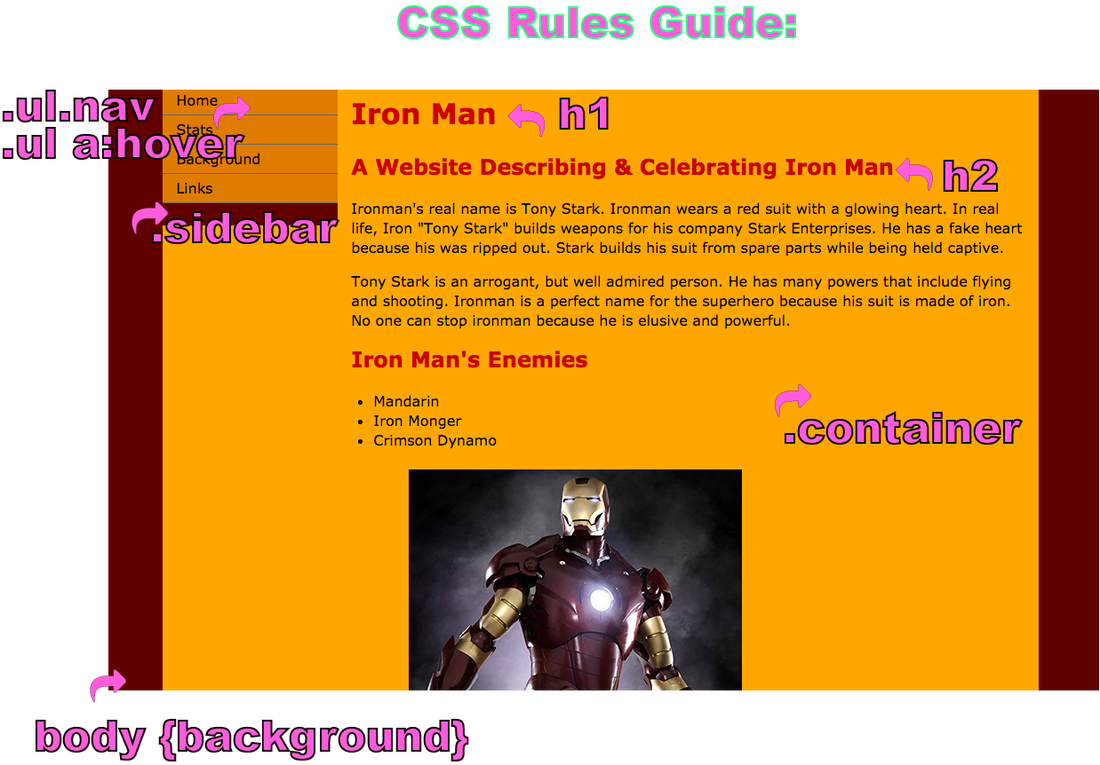
  1. On your desktop, create your root folder and name it: Yourname Root Folder. This is your directory - a place that includes all files in the website.
    ***Remember, ALL files need to be in your root folder (directory) to work. See the screenshot above to view how this folder should be organized.
  2. Make another folder within your Root folder names "images".
  3. In Dreamweaver, File>New. Choose an html document with 2 column fixed left sidebar. Make sure HTML 5 is chosen and click "Create New File" under CSS.
  4. Name the style sheet: yourname stylesheet.css
  5. On the html page, change the name of the links on the left to: Home, Statistics, Background, Links
  6. In DW, click on SITE>MANAGE SITES. Then click NEW SITE. Then, name your site and define the local site folder as your ROOT FOLDER.
  7. Download 4 images from online (they don't have to be royalty free) and save them in the images folder inside of the root folder.
  8. Every page should have the following metadata in the <head>: title, keywords, author name, description, and viewport.

    ***Everytime you write the superhero/villain's name, italicize it (except when it is used in heads or subheads)
    ​
  9. Page 1: Index (<title> Home)
    This page should include the following:
    -An <h1> that says: [your superhero name]
    -<h2> that says: A website about [your superhero name]

    -Two <p> describing the superhero.
    -An ordered list that lists their enemies (use an h2 tag to title the list). 
    -Add an embedded image (linked to in the root folder) of the superhero (ie 
    images/iron man 4.png).
    -​Format the width of the image and give it alternate text.
    -Save as index.html.
  10. Page 2: Statistics (<title> Statistics)
    -Save a copy of your index file (click file>save as and save it as statistics.html). This makes a copy of your home page and names it statistics. Now change this page. 
    -An <h1> that says: Statistics.
    -A paragraph describing the superhero's abilities and how he/she uses them.
    -An h2 that says "Superpowers".
    -An unordered list describing this superhero's powers. 
    -Embed another image 
    (linked to in the root folder) of the superhero using his/her powers. Change the width and the alternate text.
  11. Page 3: Background (<title> Background)
    -Save as background.html. 
    -<h1> that says: Background of [Superhero's name].
    -3 short paragraphs describing the superhero's history, including his/her past.
    -Embed a YouTube video that is in some way relevant to your superhero or villain.
  12. Page 4: Links (<title>Links)
    -Save as links.html. 
    -
    An <h1>that says: Helpful Links.
    -A short paragraph telling the user that he/she can learn more by clicking the links below.
    -Add 3 links to 3 other web pages with more information and/or pictures of the superhero. Put the links in an unordered list. Title the list.
    -Embed an image. Change the width and the alternate text.
  13. Go back to your other 4 pages and link your global navigation in each one. The code is already there, you just need to put in the path (shown in blue).
    <a href="index.html">Home</a>
    <a href="statistics.html">Statistics</a>
    <a href="background.html">Background</a>
    <a href="links.html">Links</a>
  14. ​Make sure you check your links on all 4 pages to make sure they work, because that's what I'll be doing when I grade them.
  15. Use line breaks <br> where you think necessary and correct for your knowledge in formatting a web page.

CSS Directions
  1. ***See the screenshot below to understand which color is which css code.
  2. Make the 4 pages first and THEN do the CSS.
  3. Make sure your style sheet is in your root folder and linked to ALL 4 pages.
  4. Change the CSS only in the CSS file, NOT in your html pages. This way, you only have to do it once!
  5. You may NOT keep the color scheme used on the template. I got my color scheme from this site. Use a color scheme consistent with the hero or villain.
  6. Change the h1 color (you'll have to write this CSS code)
  7. Change the h2 color (you'll have to write this CSS code)
  8. Change the background colors (you'll edit the current CSS code)
  9. Change the link boxes (you'll edit the current CSS code)
  10. Change the link boxes colors when they hover (you'll edit the current CSS code)
  11. Change the font family for the body text, h1, & h2 (you'll edit the current CSS code)

Picture
Javascript Directions
  1. On page 4 (the links page), insert this Javascript code
<p id="demo">Click below to learn the author of this site.</p>

<button type="button" onclick='document.getElementById("demo").innerHTML = "Yourname"'>Find out!</button>

EXTRA POINTS:

Picture
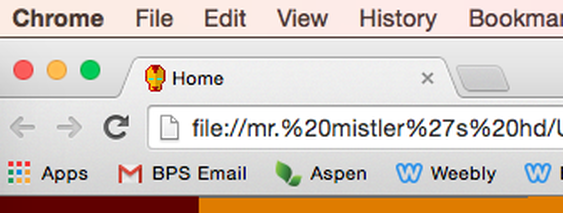
An example of a favicon: the small icon that shows up on your page tab
Extra points (+3) if you add a favicon:
  1. Search a favicon online. (or format one in PSD: must be 16px x 16px). The file must be named favicon.ico (you'll have to manually type in this file extension).
  2. Put it in your root folder. 
  3. In the <head> of each page, type this code, but link to the favicon (the text in blue below will be changed for your own favicon path within the root folder)
<link rel="icon" type="image/x-icon" href="favicon.ico"> ​
To learn more about relative and absolute paths ​
0 Comments


Leave a Reply.

    DAILY AGENDA

    Google Classroom

    How do I print?!

    Links:

    Weebly


    DaFont

    Lost Type

    Free Images

    Unsplash.com


    74 Free Stock Sites from Canva

Powered by Create your own unique website with customizable templates.
  • Blog
  • Web Design
  • Dig Pub
  • Fashion
  • Photo
  • Graphic Design
  • Fashion 2
  • Student Gallery
  • About