Fashion Design
In Fashion Design, students learn about the basics of fashion design while studying professional fashion practices. Students draw croquis', sew, and construct garments.

|
Background
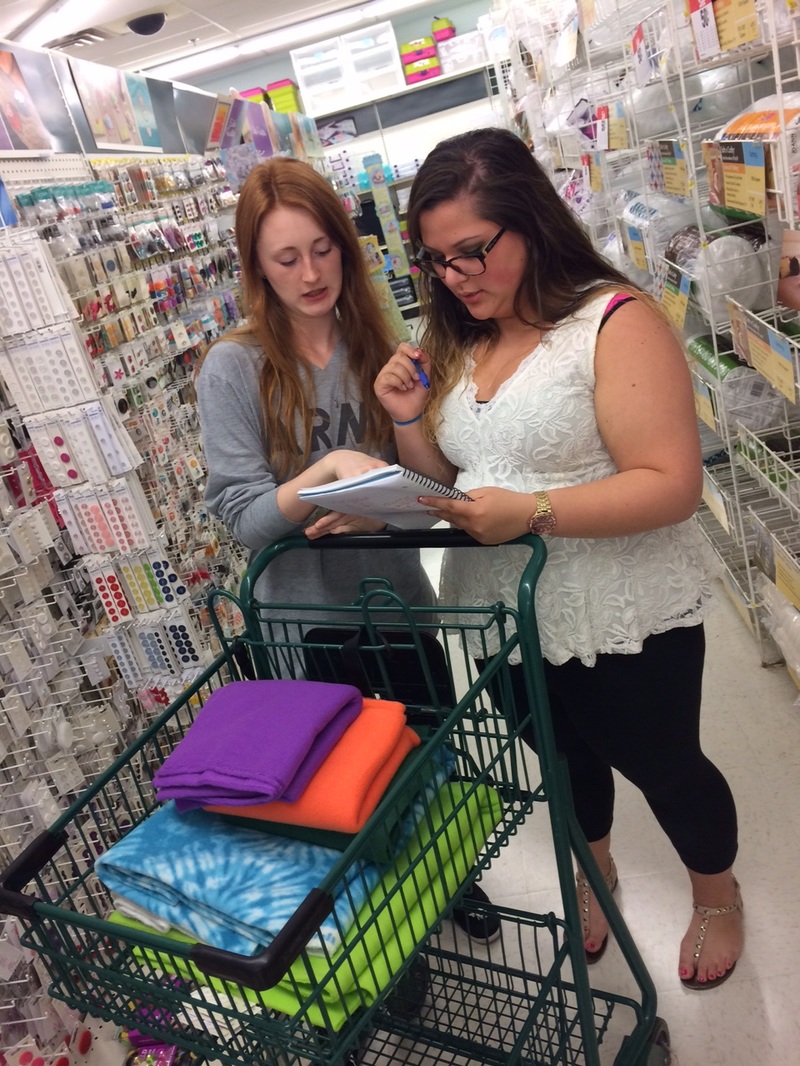
A trend forecaster predicts the colors, fabrics, textures, materials, prints, graphics, beauty/grooming, accessories, footwear, street style, and other styles that will be presented on the runway and in the stores for the upcoming seasons. This assignment will challenge you to explore fashion merchandising and hone your business skills. Very often, fashion design courses will not show you how to start your own business or teach you very valuable business skills. Assignment Your assignment is to work in a group of 2 people to create a trend forecast for the 2016-2017 fashion season. Half of the class will forecast the Fall 2017 Season and the other half will forecast the 2017 Spring Season. You will create a design board, a croquis board, 2 full outfits, and a video describing the assignment. The video above is an A+ example of this assignment. Specs (what needs to go in the video)
FIDM Design Challenge A Beginner's Guide to Trend Forecasting Article Fashion Snoops (trend forecasting company -- paid services)
0 Comments
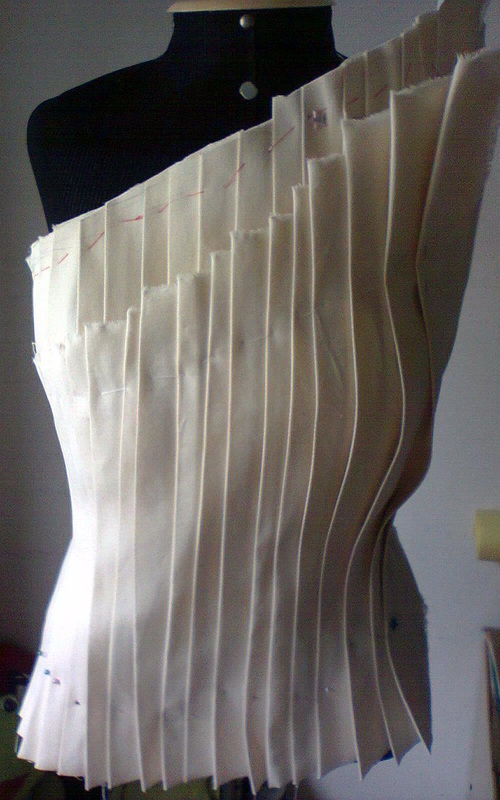
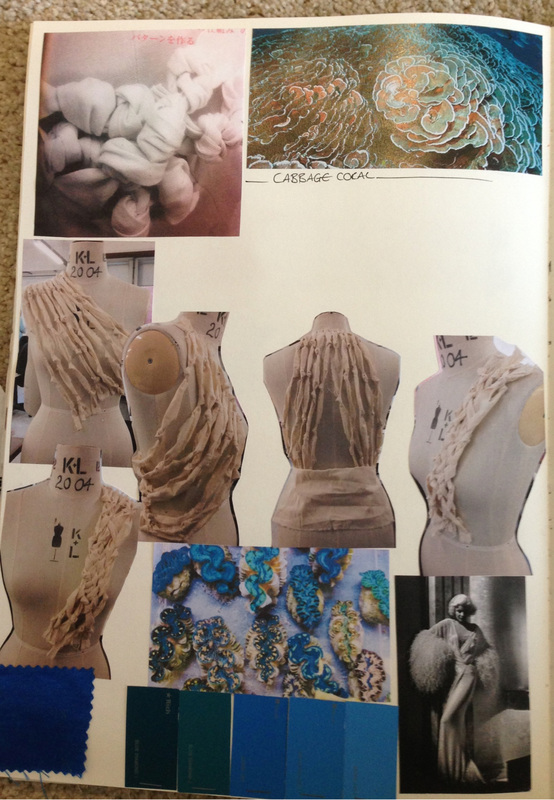
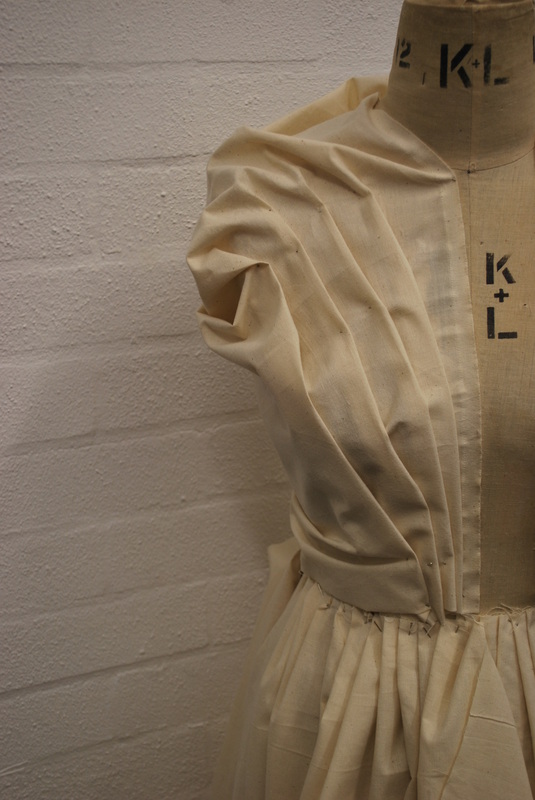
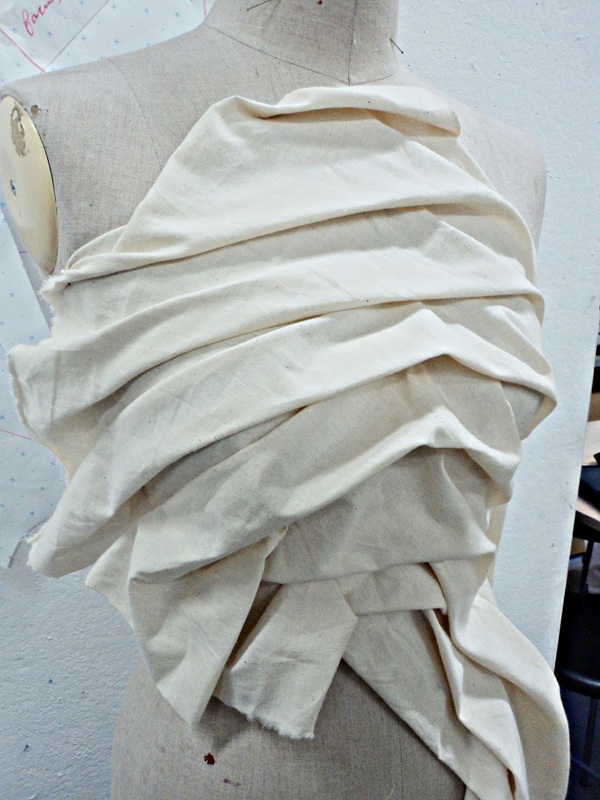
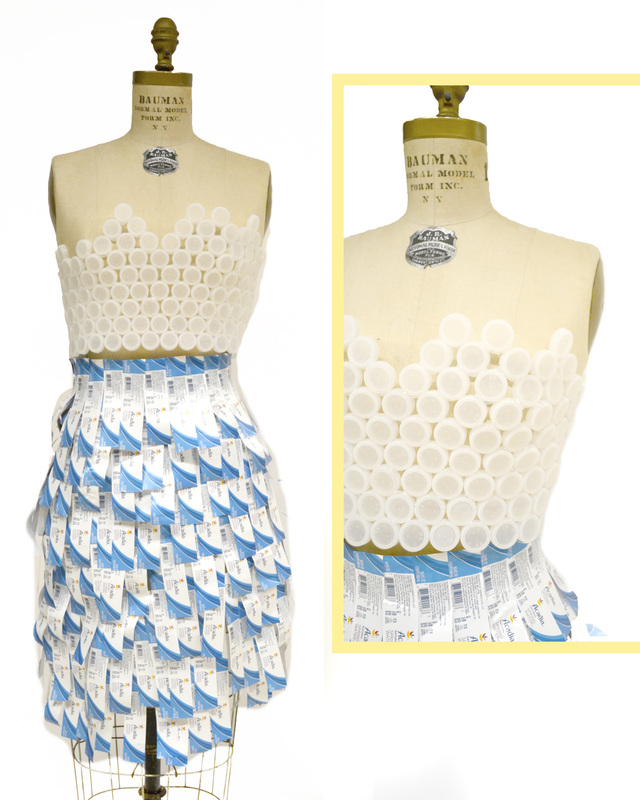
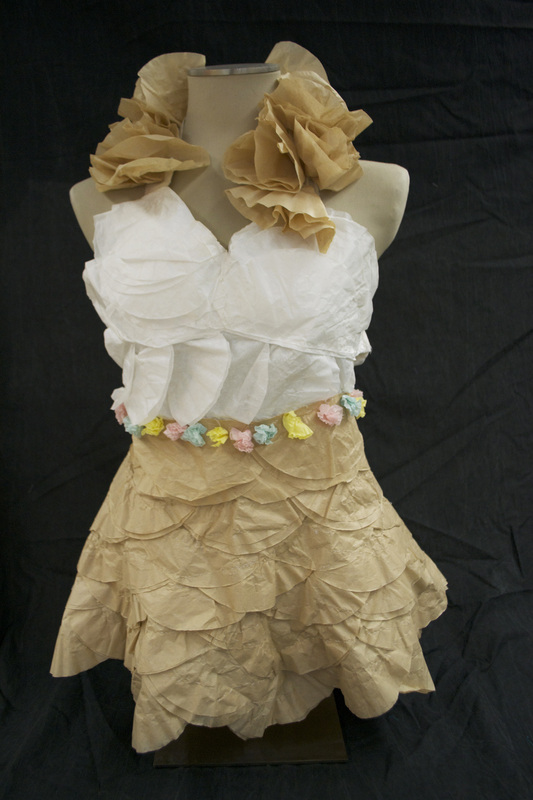
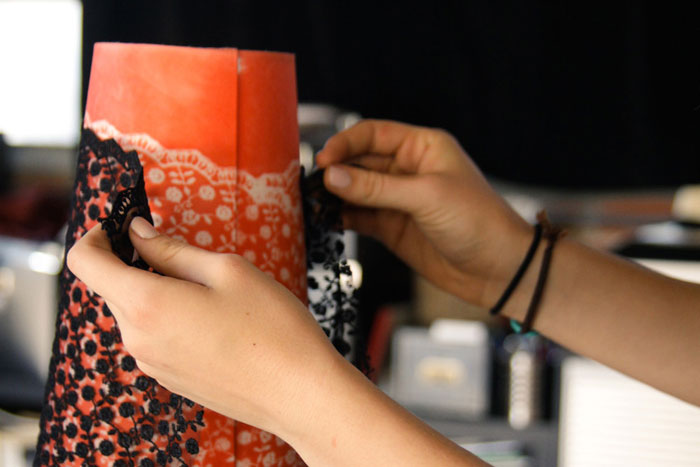
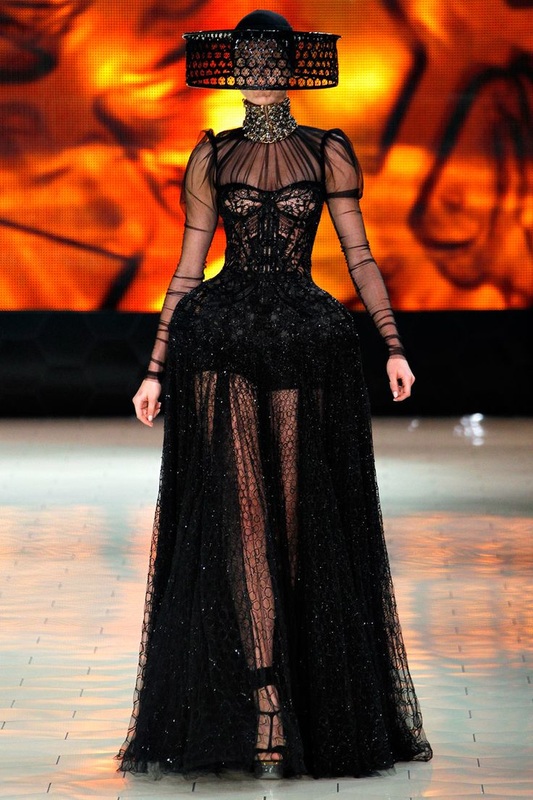
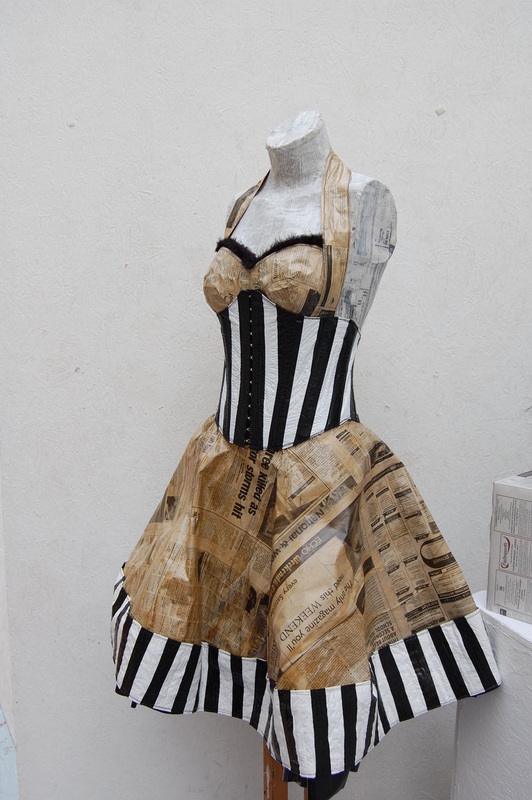
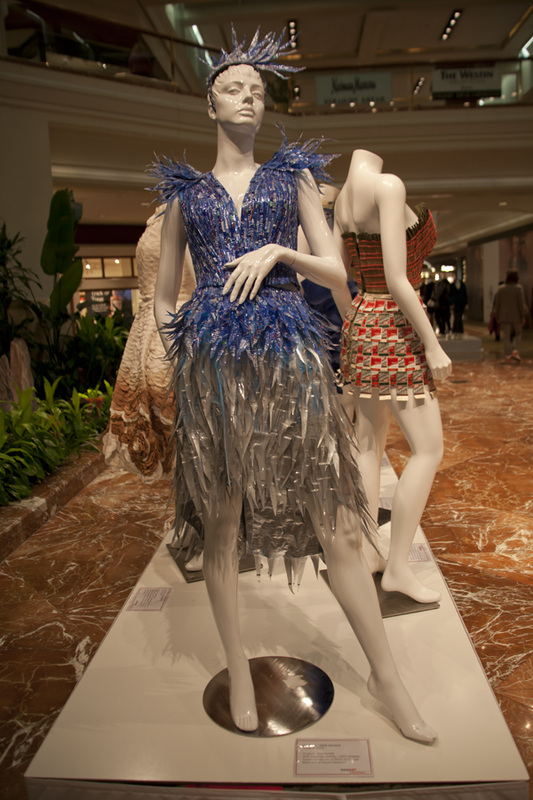
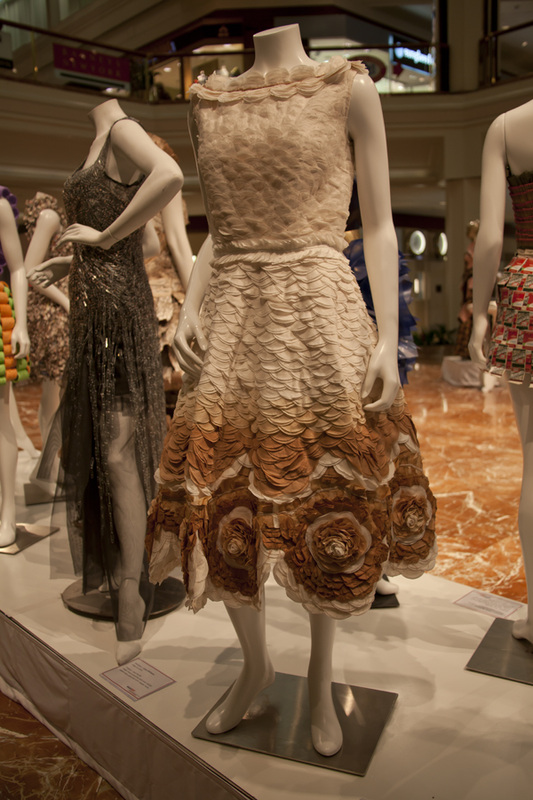
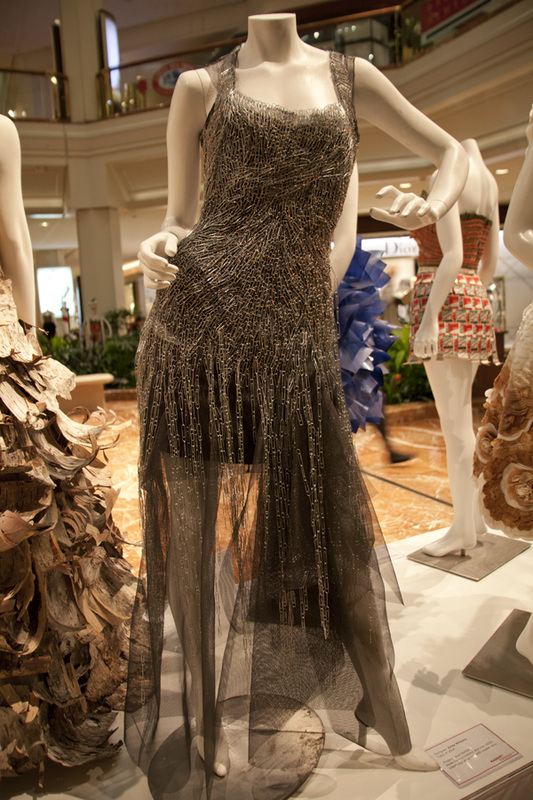
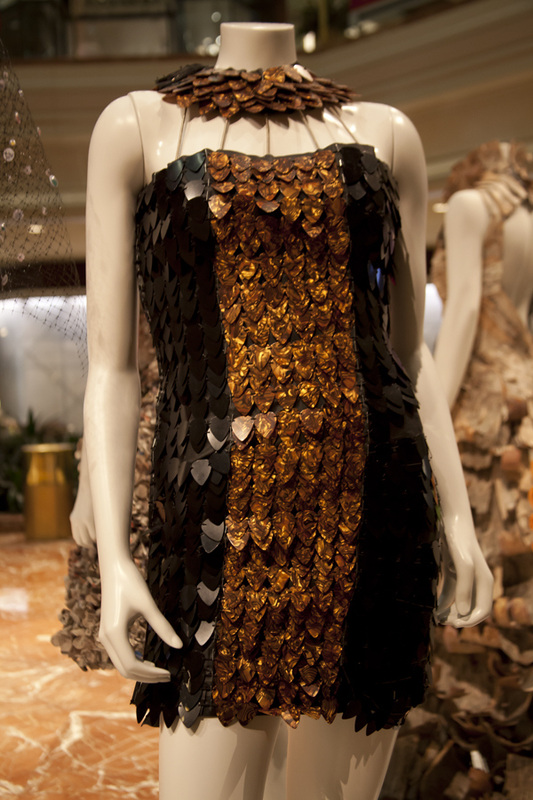
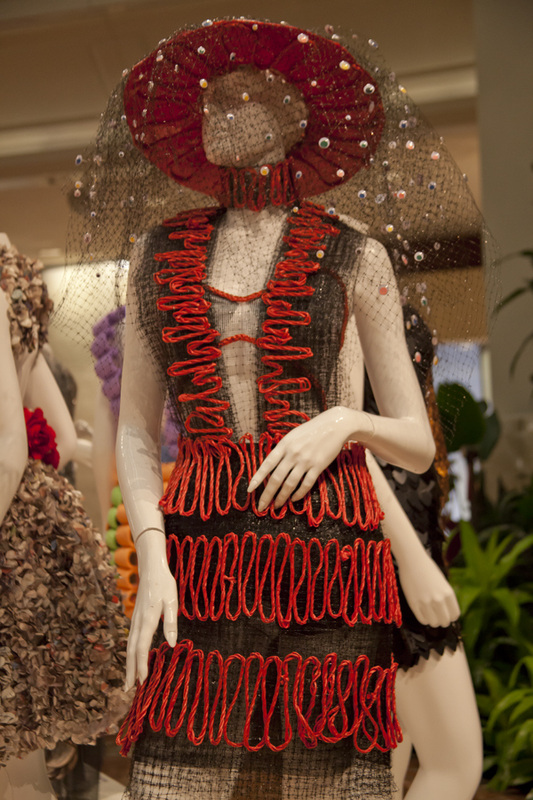
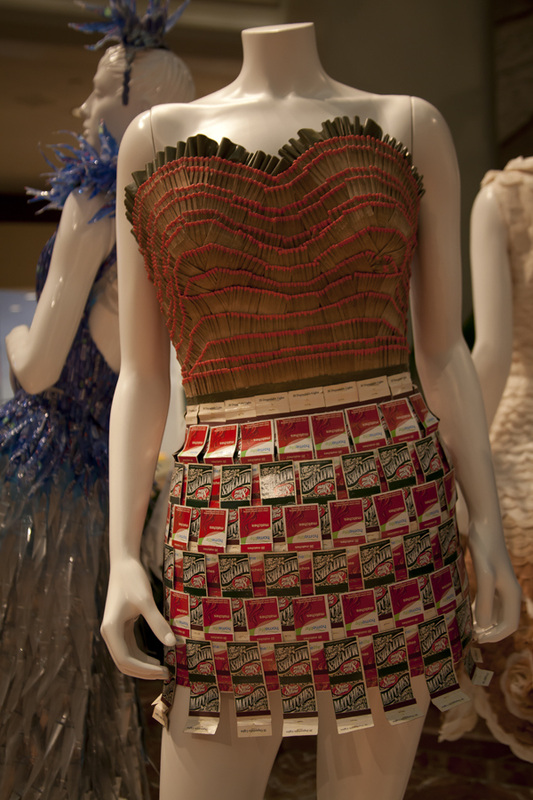
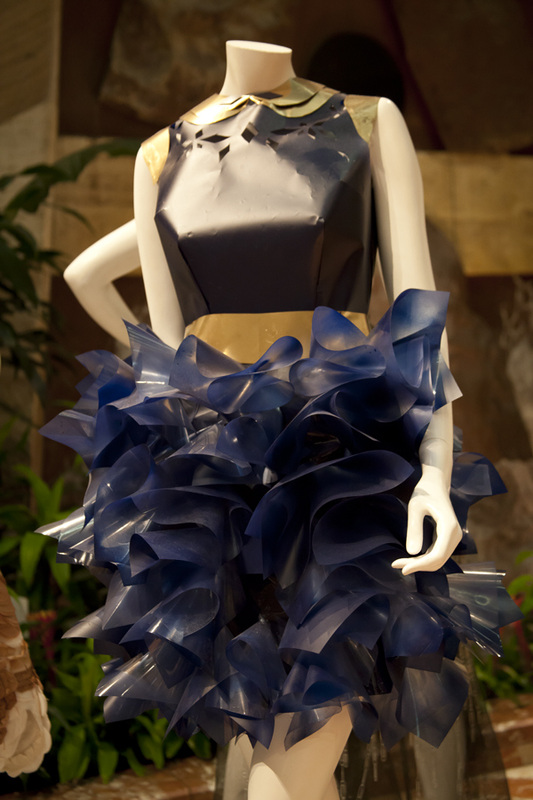
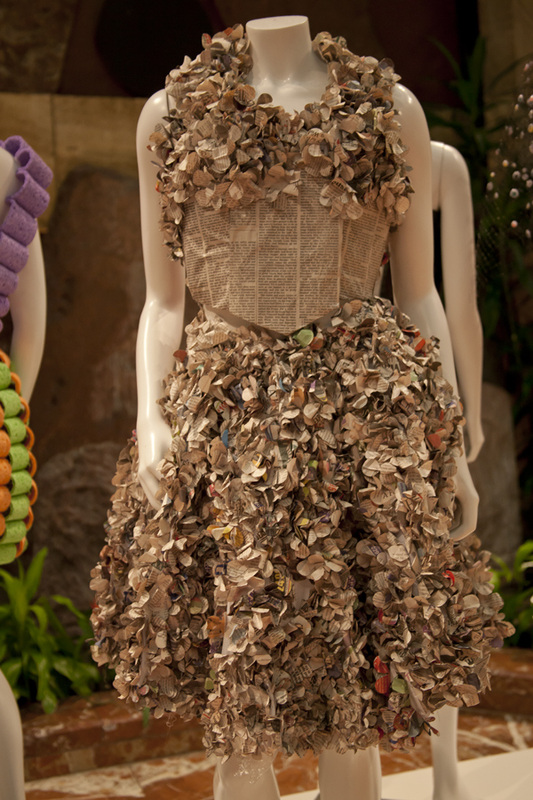
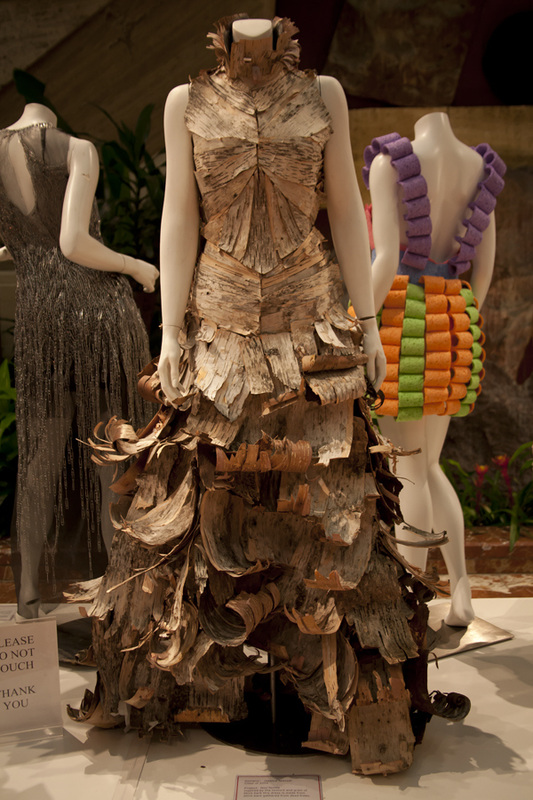
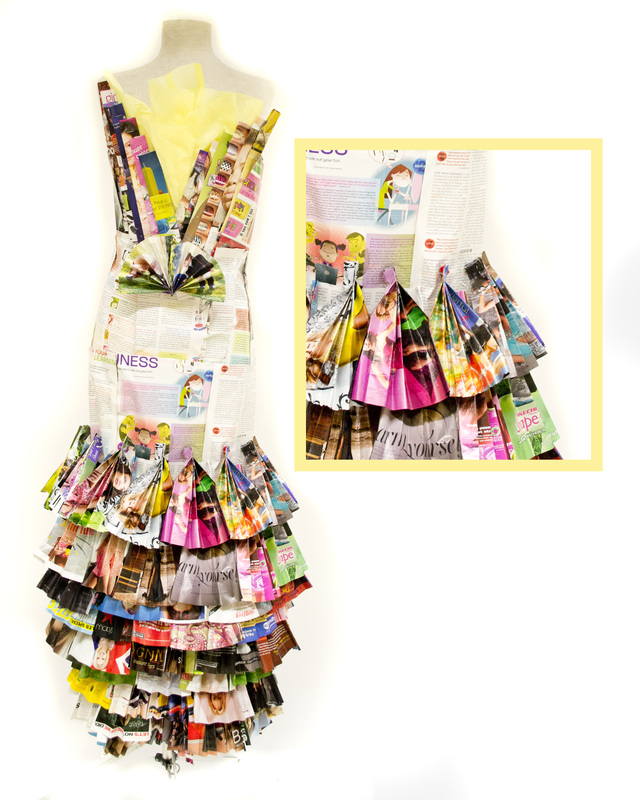
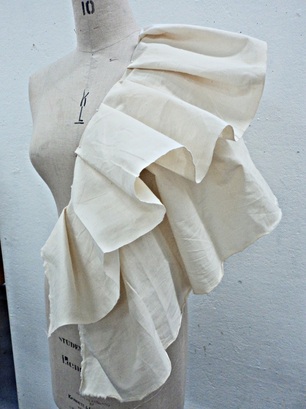 Background Fabric draping is the process of positioning and pinning fabric on a mannequin or dress form to develop the structure of a garment. Fabric drape is defined as the way that fabric falls to the floor. Fabric bias, rigidity, stiffness, type of fabric, weight, and thickness can all be factors in determining drape. Many professional fashion designers use fabric draping to design garments (and then usually leave the dirty work to interns or other workers!). Description Your assignment is to create a Couture garment using drape. You may choose to do a dress, pants, blouse, skirt....essentially -- any garment. The theme of your garment is "texture in nature." Please TRY to use the fabric I have extra in the classroom. Steps
Grading Criteria
Resources Read this article about drape factor 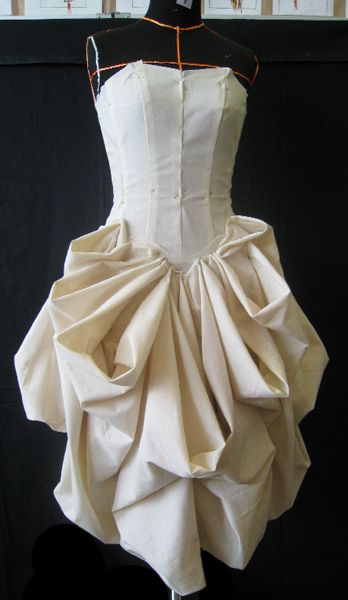 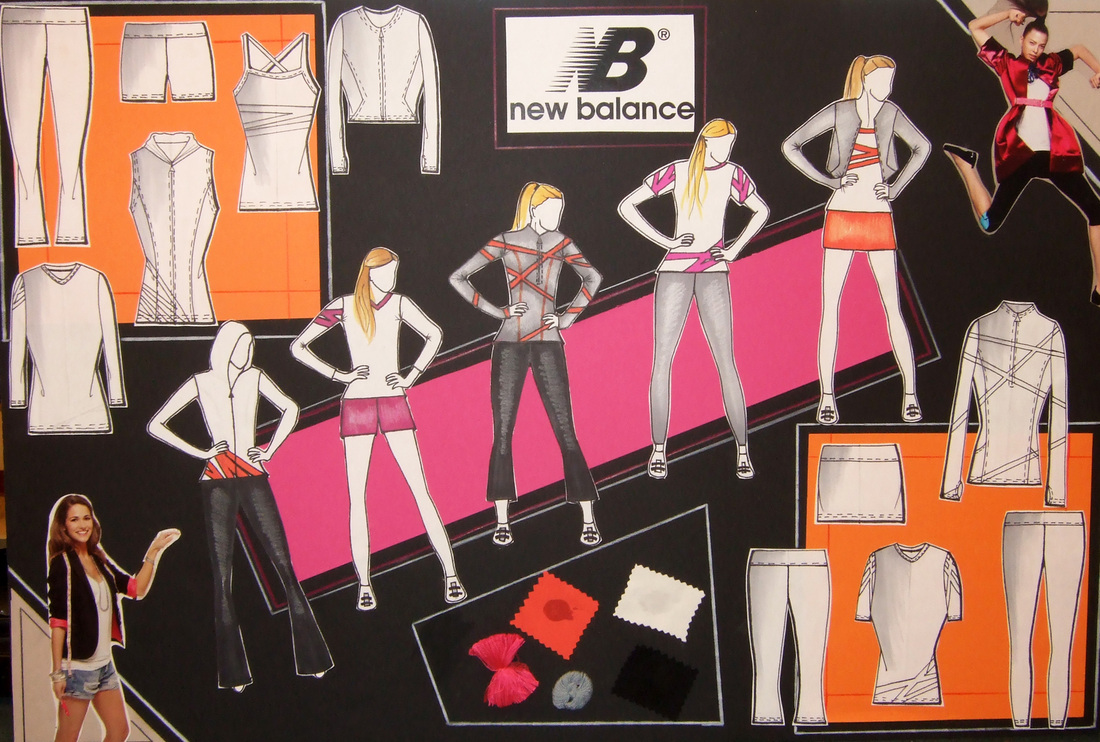 A perfect example of a presentation A perfect example of a presentation Background
A design challenge in fashion is when designers are faced with creating a clothing line based around a theme. Assignment Your assignment is to design a clothing line based around your favorite literary novel. Choose 1 character from the novel (male or female) and design 5 outfits based for that character as if you were the fashion designer for a movie based on the book. You must also write a 1 page summary as to how these outfits represent the character. Be sure to research current design trends to keep this character relevant. I will provide you with your board. Board must include the following:
Tips:
Craftsmanship Tips
Steps:
Grading Criteria:
Homework Assignment:
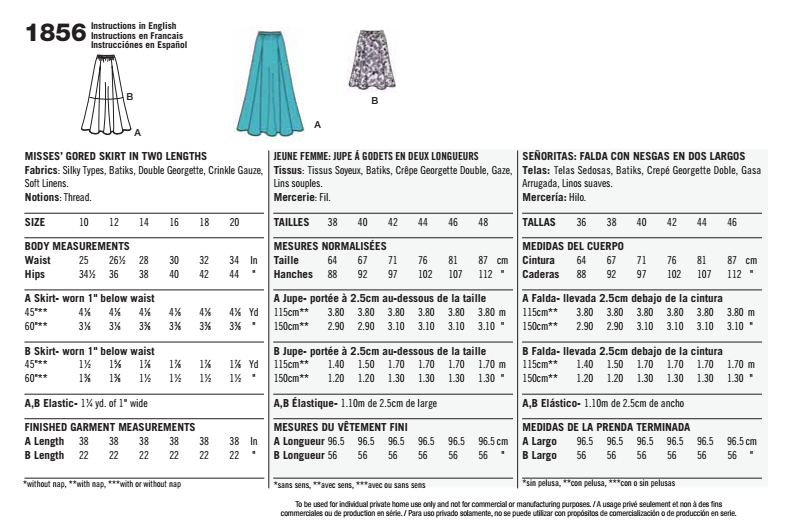
               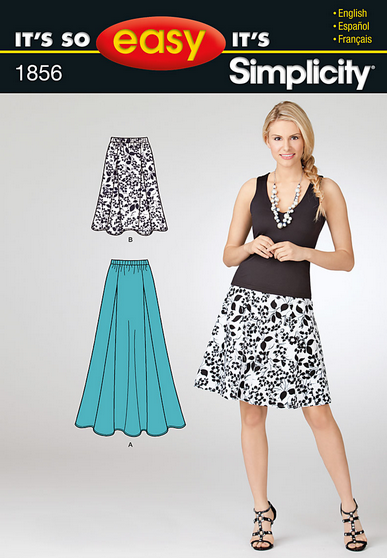 Simplicity 1856. Click the image to view the link. Simplicity 1856. Click the image to view the link. Background Learning to sew is a vital skill of any fashion designer. A simple skirt will help us to understand the specifics of working with patterns and how they are used in fashion. Vocabulary
Objectives
Grading
Steps
 Skirt Reflection Questions
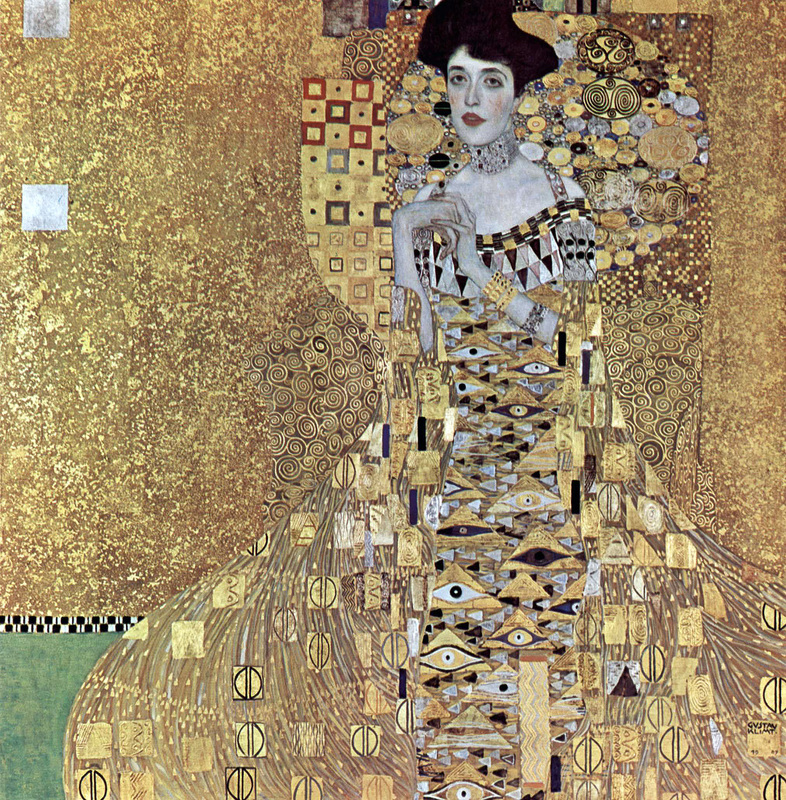
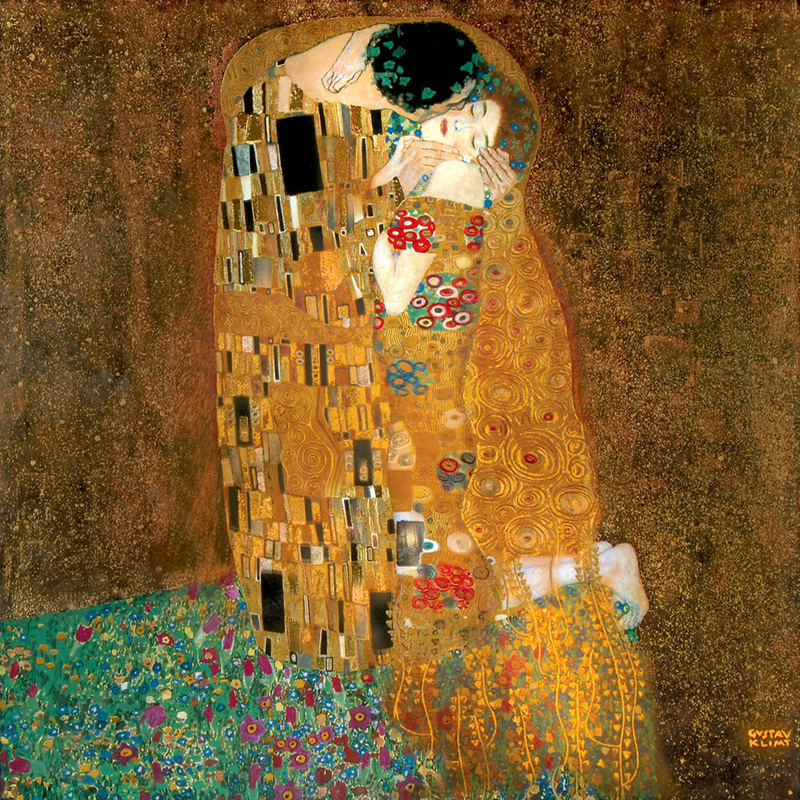
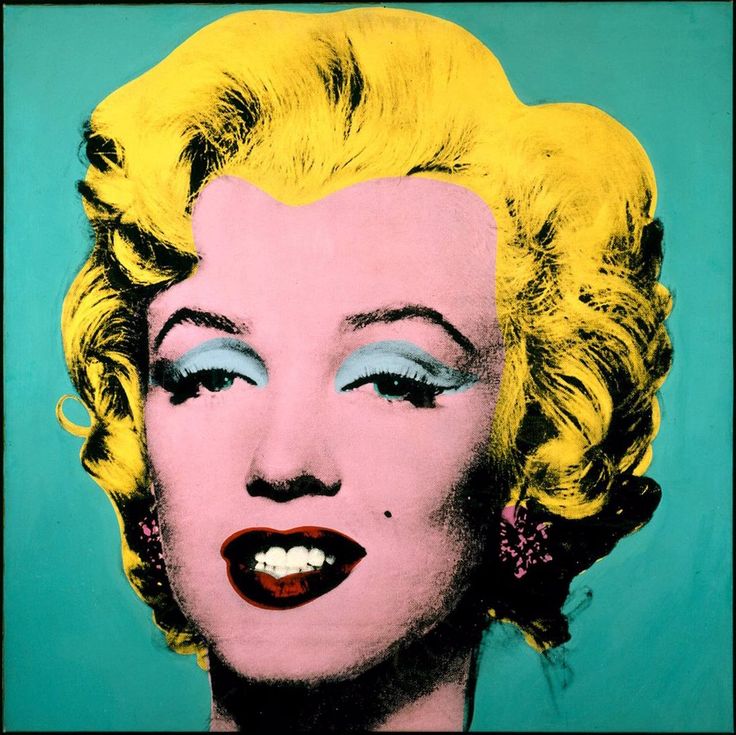 "Marilyn Monroe" by Andy Warhol 1962 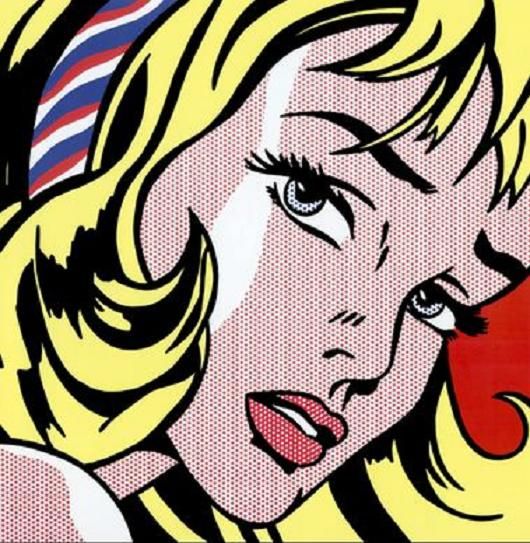 "Girl with Hair Ribbon" Roy Lichtenstein 1965  Design by Emily Sateriale
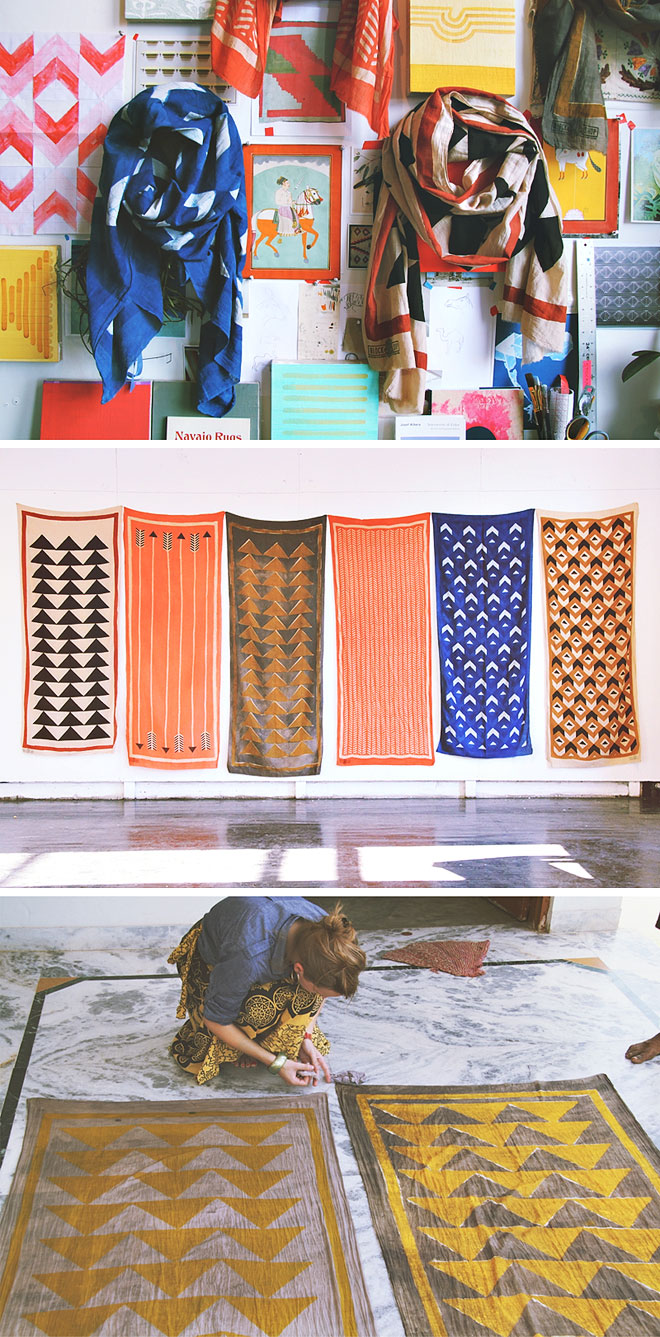 Collection by Ermie  You will transfer your pattern onto transparency paper 
|
|||||||||||||||||